
Day 60 – Sunset At Lincoln Nebraska
We have traveled the longest distance today since the beginning of the trip – 8.5 hours drive from Chicago to Nebraska. Just in time for the sunset when we arrived.
Tip of the Day
I shared a general “rule of thumb” to stand with the sun behind you during sunrise and sunset a while ago, but that doesn’t mean we can’t create beautiful images shooting into the sun.
We just need to be aware that due to the uneven light – too bright in the sky, and too dark on the ground – you’ll more likely generate disappointing images if you don’t manage light correctly.
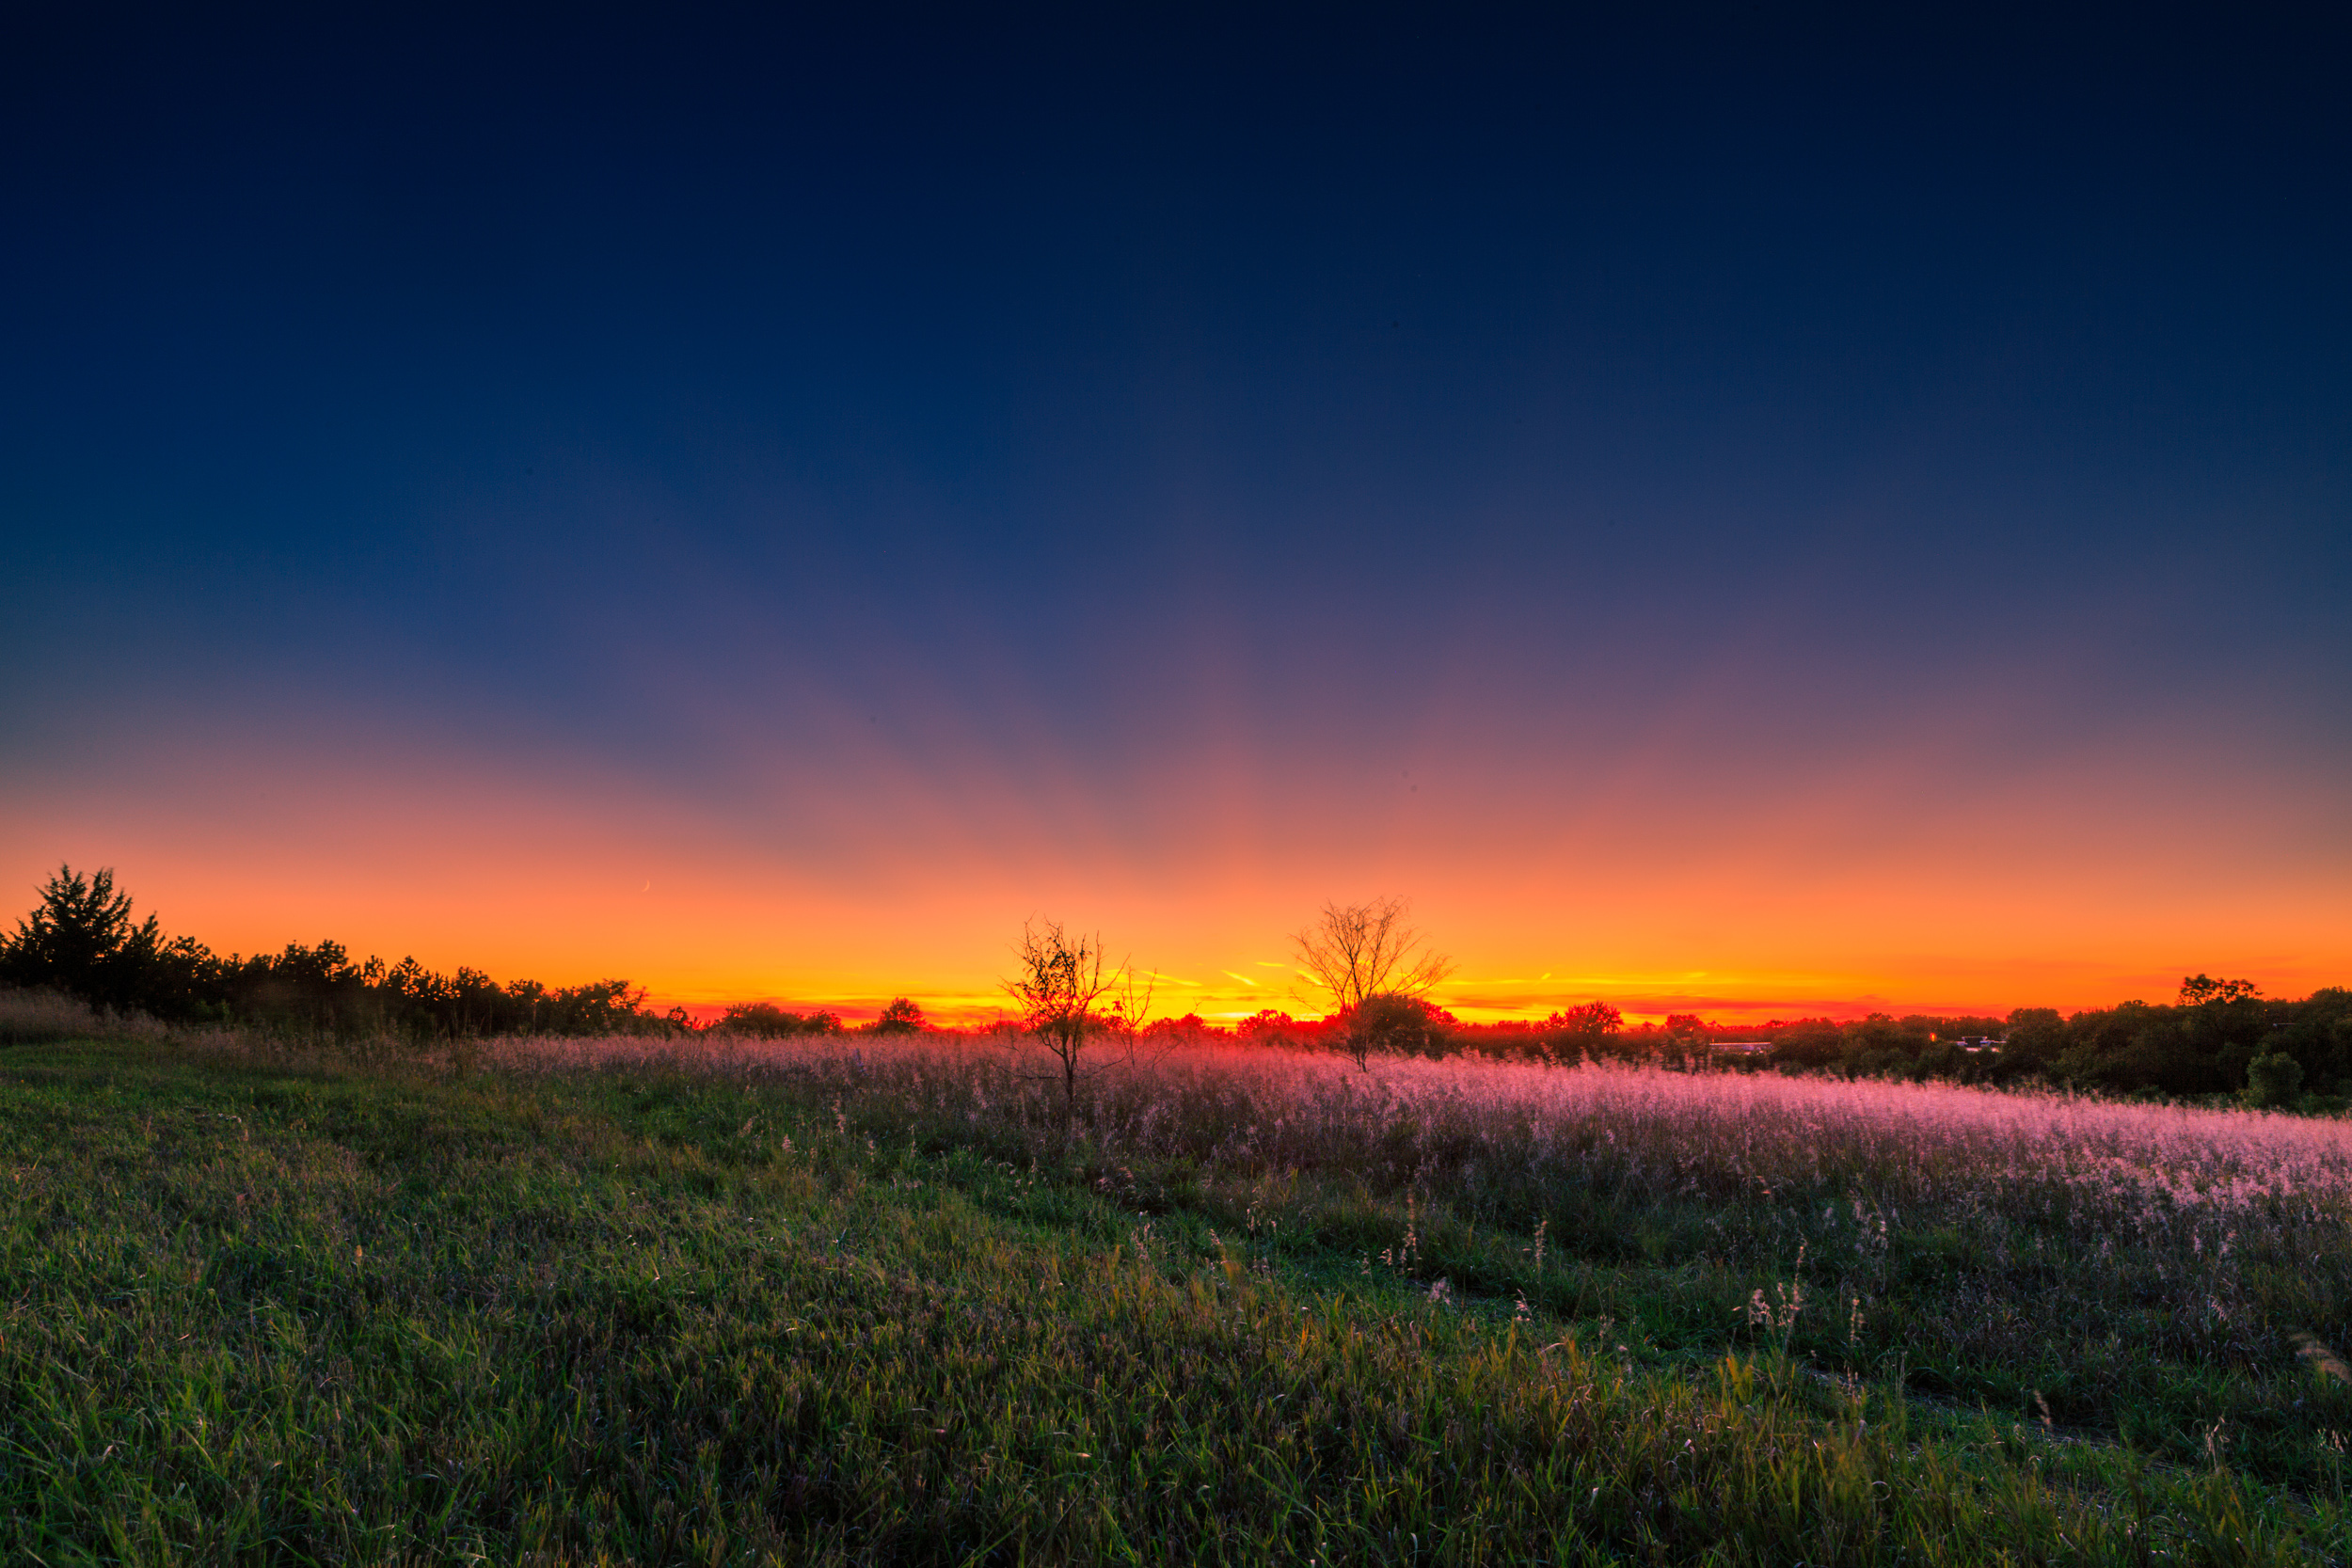
A quick solution is to use filters. For the following images, I used Lee Graduated Neutral Density filters to darken the sky. Another solution is to wait till after the sunset – when the sun is below the horizon and the sky in the west was less bright. Both solutions are for the same purpose – create similar lighting conditions for your subjects and prevent part of your image from being over-exposed (eg. for the sky) or under-exposed (eg. for the ground).
In summary, a few common circumstances I use filters include:
Force longer exposure to smooth the water surface. By using filters, you can darken the image and therefore force the camera to expose with longer shutter. The longer the shutter, the smoother the water surface will look. Typically in this scenario, I use B+W 10-stop filter.
Darken the sky to even out lighting, particularly when the foreground is much darker. Lee Natural Density Filters come with 1 stop (ND 0.3), 2 stop (ND 0.6) or 3 stop (ND 0.9) filters. The sharper the sky/ground color contrast, the bigger stop filter you should use. This typically includes 1) daytime shooting and 2) sunset shooting when you choose to face the sun. This scenario sometimes could be replaced by digital editing in Adobe Lightroom, using graduated filter mask
Enjoy photography, until next time!
you may also love…


We traveled to Ireland as the final stop of our 23-week family trip in 2023. Check out our itinerary and 12 favorite photo spots.