
How to photograph cherry blossom in Washington DC
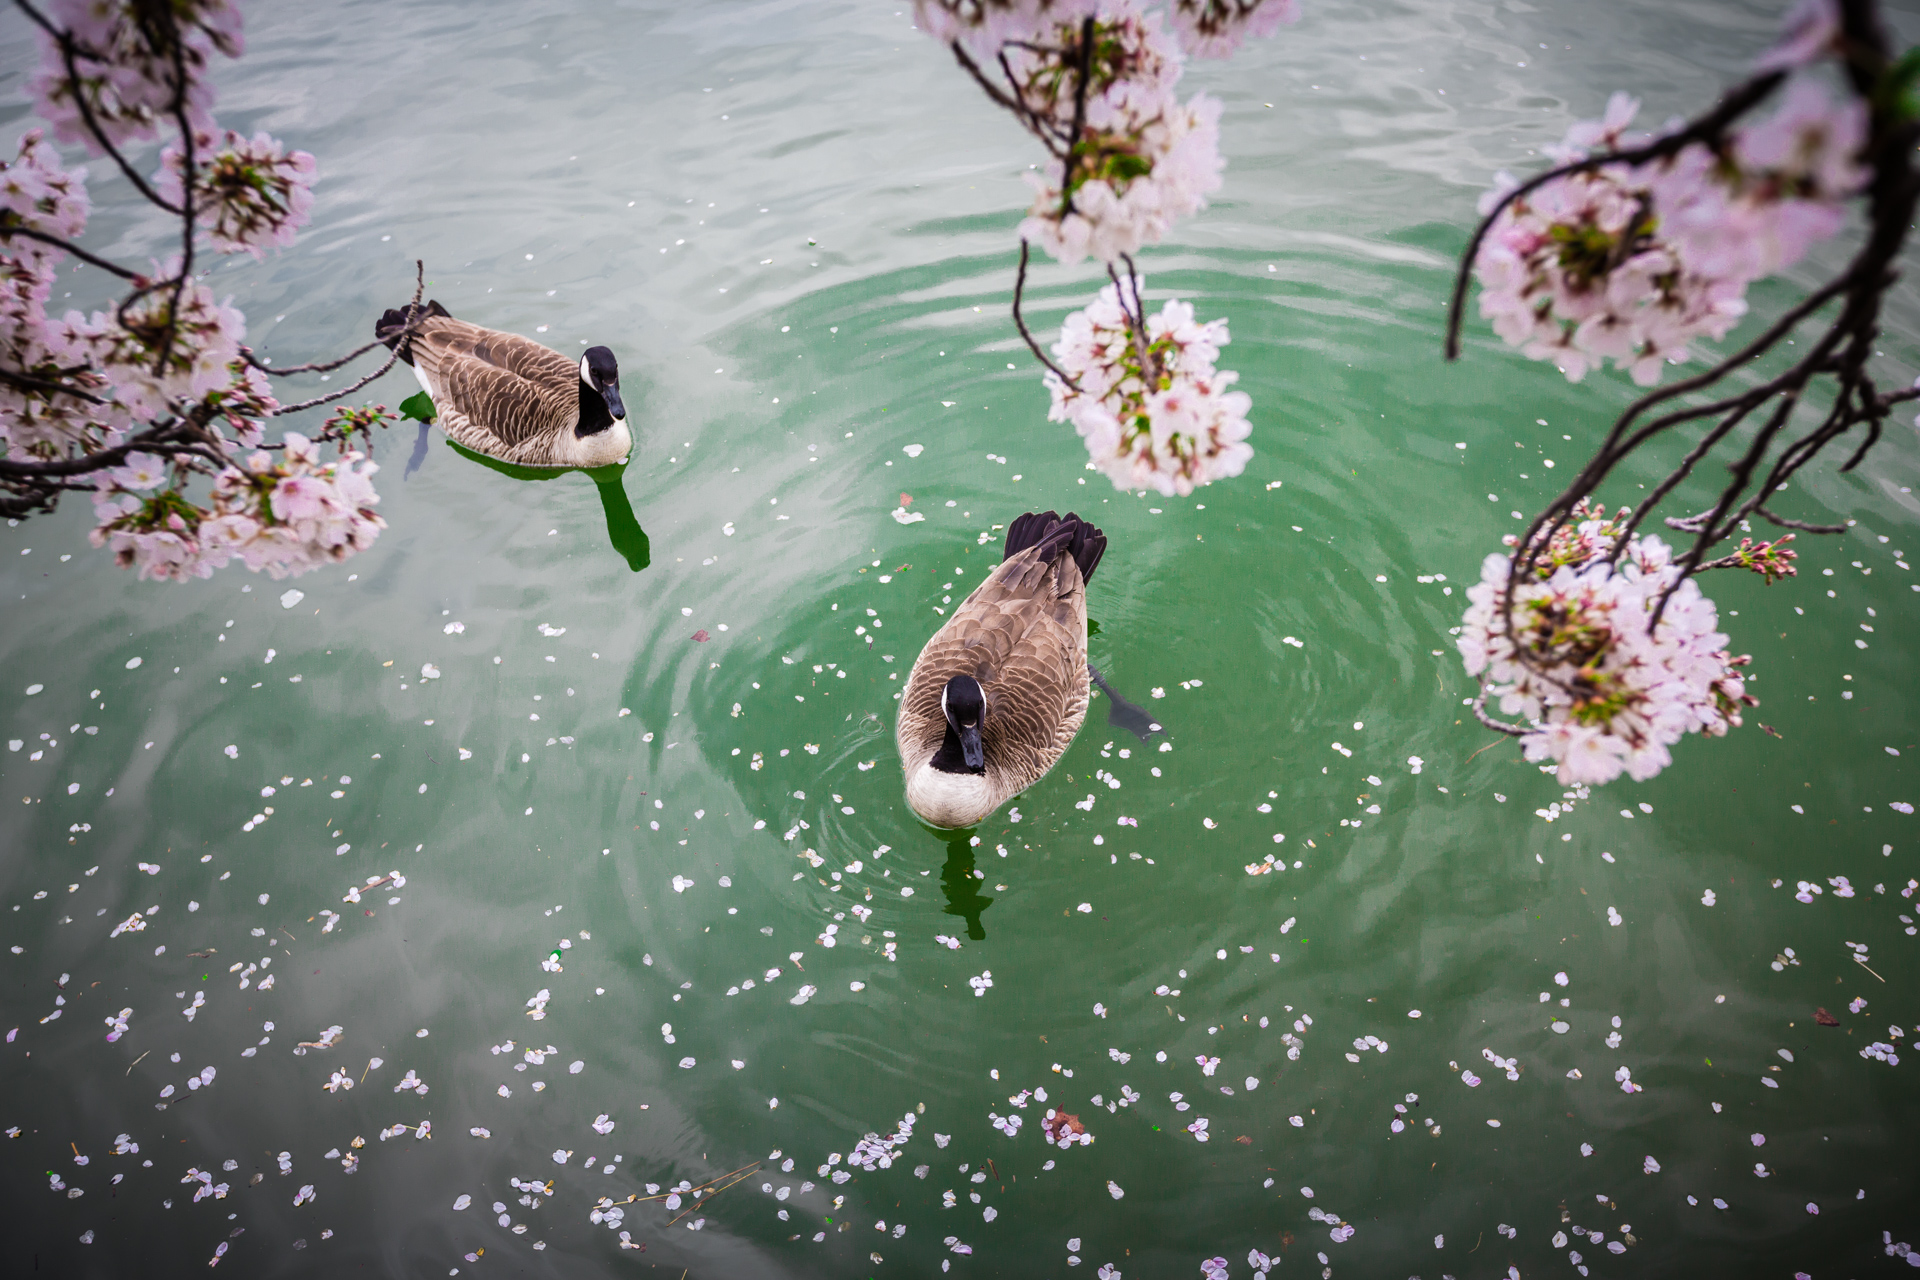
Photographing cherry blossom in Washington DC has been on top of my to do list this year. I took an entire afternoon off and set out for Tidal Basin as my first (yes first!) photo walk this year. What a luxury to be able to have an entire afternoon for myself since my little one was born! As a matter of fact, my plan for a small walk around Tidal Basin ended up over 8 hours, until after dark. I was totally a tourist, and I loved it!

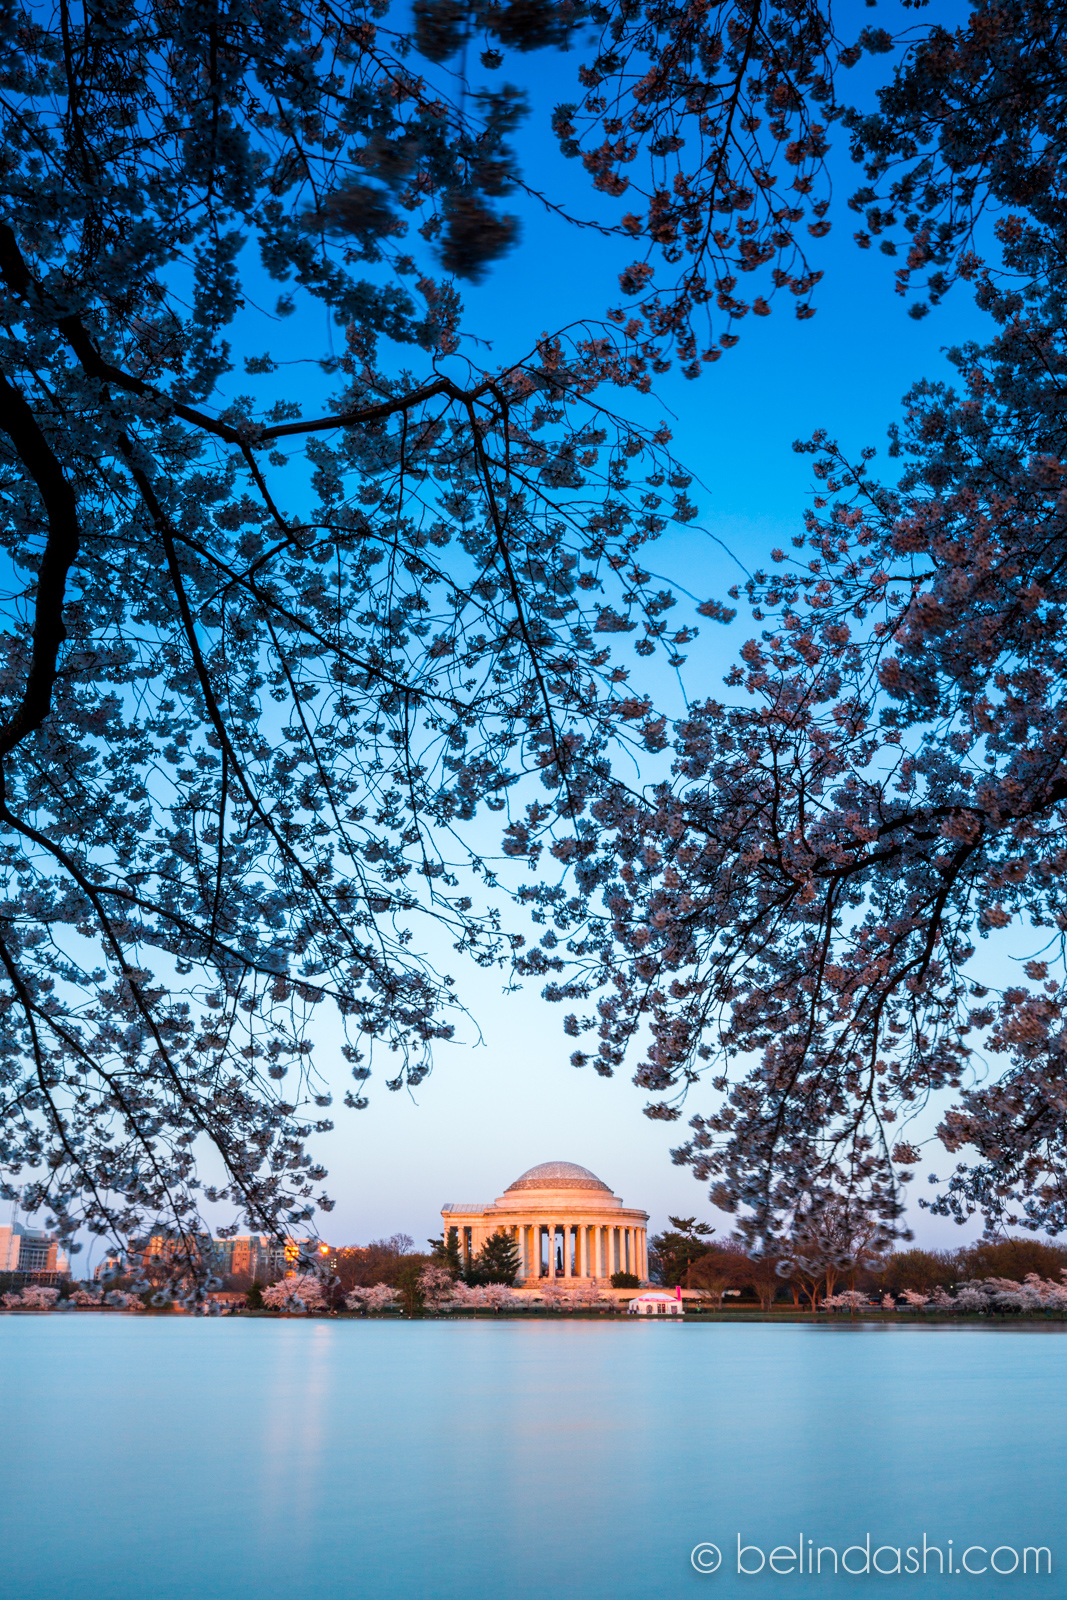
Tidal Basin cherry blossom
So here’s a bit background of the above photo. I had hoped for a beautiful sunset, but the afternoon clouds all disappeared and the sky looked hazy. So I decided to simply frame the Jefferson Memorial with “golden” cherry blossoms to cover the “boring” sky, as many others would do. The water was a bit choppy, so I smoothed it out with a long exposure. In addition, long exposure could help me get rid of the people movement in front of my camera – it was such a popular scene, and I literally lost count how many people walked by.
Long exposure (below image) setting: ISO100, 30mm, f/13, 45”
Tidal Basin cherry blossom
I also had to take a regular shot of the same image for the cherry blossoms. Typically, flowers or plants look blurry in a long exposure unless there’s absolutely no wind.
Regular (below image) setting: ISO100, 30mm, f/11, 1/15”

Tidal Basin cherry blossom
So the final result (see top image) is a combination of the above two images with color enhancement in Adobe Lightroom. See how I used my Magic Light landscape workflow presets to edit my photos.In case you are curious, here's the equipment I've used:
Canon 5D Mark III
Gitzo tripod with Really Right Stuff ballhead
Lee 10-stop filter (see my tips on when and how to use filters)
Check out the bottom of this page for my entire photo gear
By no means this photo is close to my best landscape shots, but hey, it’s one of the first I shot this year. Yep, it was my first photo day in 2018, and I couldn’t be more satisfied.
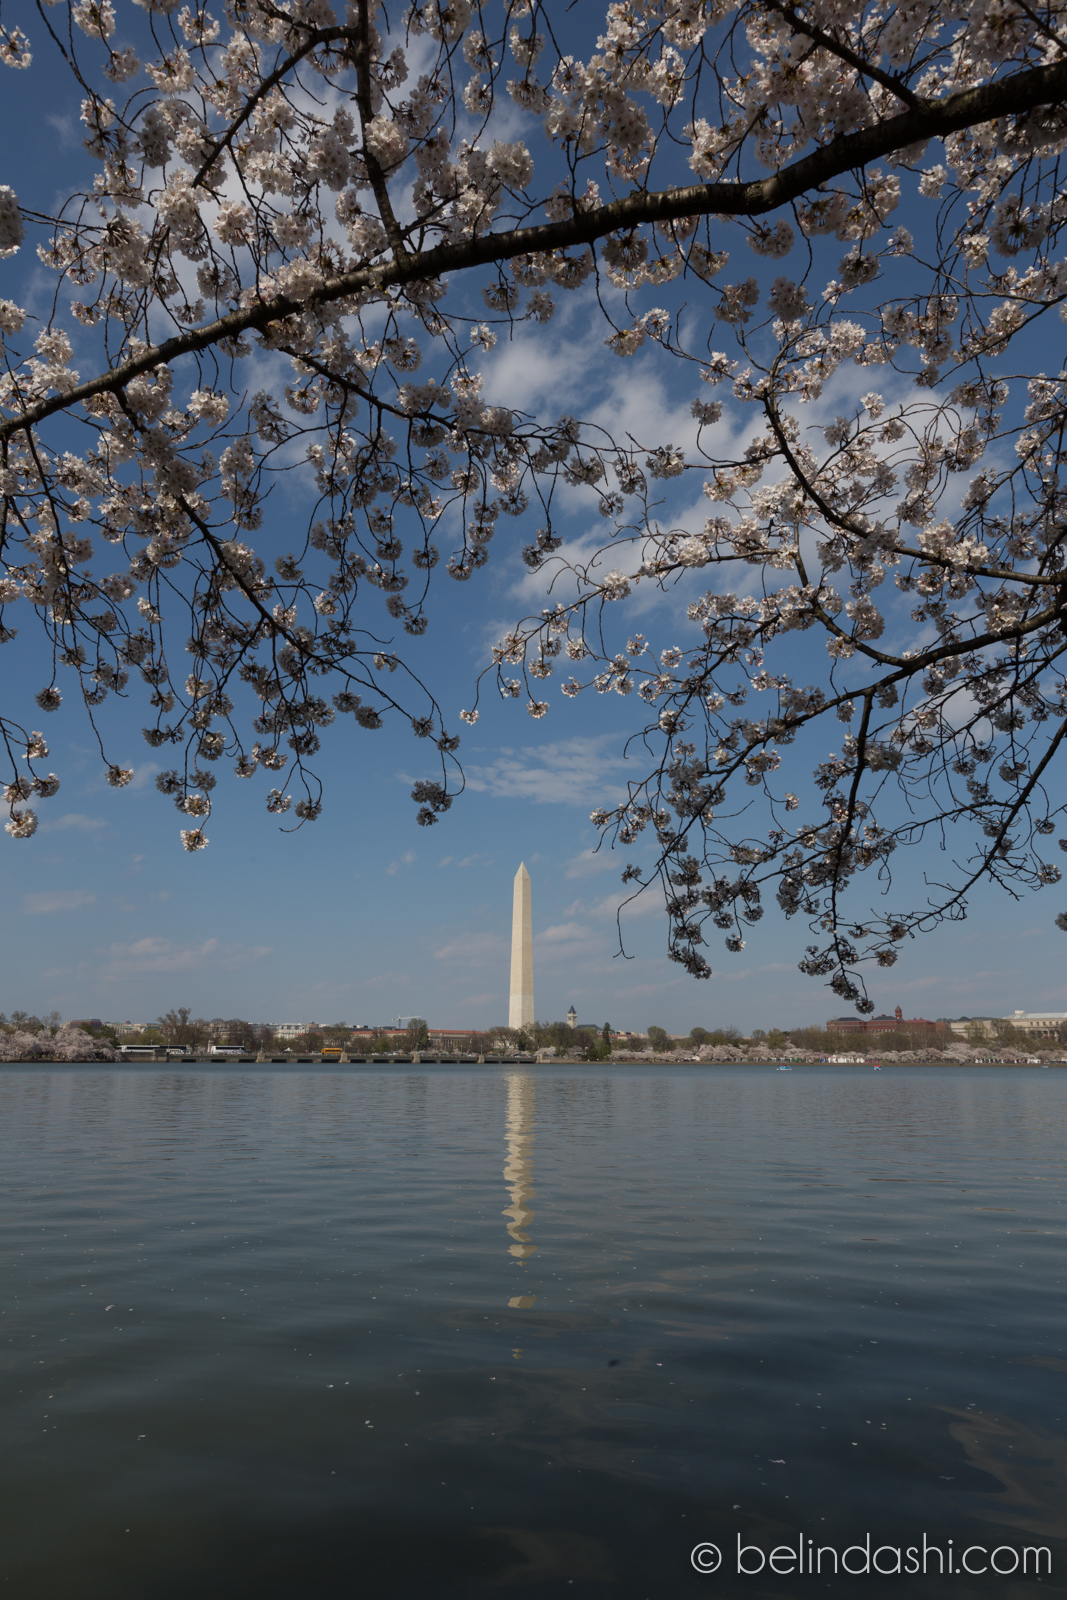
Below is another example of the Washington Monument using the same technique. It was shot earlier in the afternoon so the cherry blossoms appear pink.
Below is the combined final image. Post processing is first done in photoshop combining the two images, and then tweaked in Adobe Lightroom. See how I edit all my landscape photos within a few seconds using the same sets of Lightroom presets.

Washington Monument Cherry Blossom
Below is the long exposure to smooth out the water

Washington Monument Cherry Blossom
Below is the exposure of the cherry blossoms.
Washington Monument Cherry Blossom
More info about planning a great cherry blossom photo shoot (1st P)
1. check peak blossom
The peak blossom happened between April 5 – 8 (according to National Park Service) or April 8 – 12 (according to Washington Post). I went on April 11 on the tail end. Good news is that there are different species and some peaked a bit later in other locations.
2. check the weather
This is obviously no brainer. You don't want to go on a rainy day, although snow scenes could be nice (I haven't tried).
3. know the best hours
Timing is key in terms of planning a great landscape photo shoot. I've discussed in detail before. Check out my videos and articles.
4. plan your logistics
I had to confess I tried to go to the same place last Friday, and I failed miserably. First of all, we got stuck in the weekend rush hour traffic, and then we didn't know the streets to access parking near Tidal Basin were blocked. We chose the wrong transportation - instead of taking Uber or Metro, we drove. It was supposed to be less than 15 minutes drive, but we ended up getting stuck in traffic for over an hour and had to finally abort the plan. In a nutshell, planning your logistics smartly and get to your vantage point early is key.
5. know your equipment and settings
Here's more detail on my default camera setting for landscape photography. You can't stay in front of sunset and fumble around with settings. Sometimes the best images are slipped away just in minutes or even seconds. See this article how colors changes within 10 minutes.
6. frame your shots
Composition, composition, composition. I think this is the single biggest factor to differentiate you from other photographers. You can carry the best equipment, know all the technique and tricks and settings, but if you don't know how to "see" things, you can't produce stellar images. This, to me, is a life long learning process. It takes a bit of practice, but mostly, an outward and inward learning of yourself, the exact reason I enjoyed photography!Here are some of my tips on composition. Everyone is different, you can hone your own style.
you may also love…


Cappadocia Turkey has to be my favorite of the favorites since the beginning of our Europe trip 11 weeks ago. Beyond the unique landscapes and hot air balloon rides, here are my favorite photo spots.