Long Exposure Photography Tips During Day Time
If you are an experienced amateur or professional photographer, you might have tried long exposure photography already. You also might know that long exposure is typically created during dim light conditions, or for night photography, or for specific subjects, such as seascape or waterfalls. With this knowledge in mind, how do you maximize your photo experience during travels or vacation, particularly during the day time? I'd like to share some long exposure photography tips and examples below.
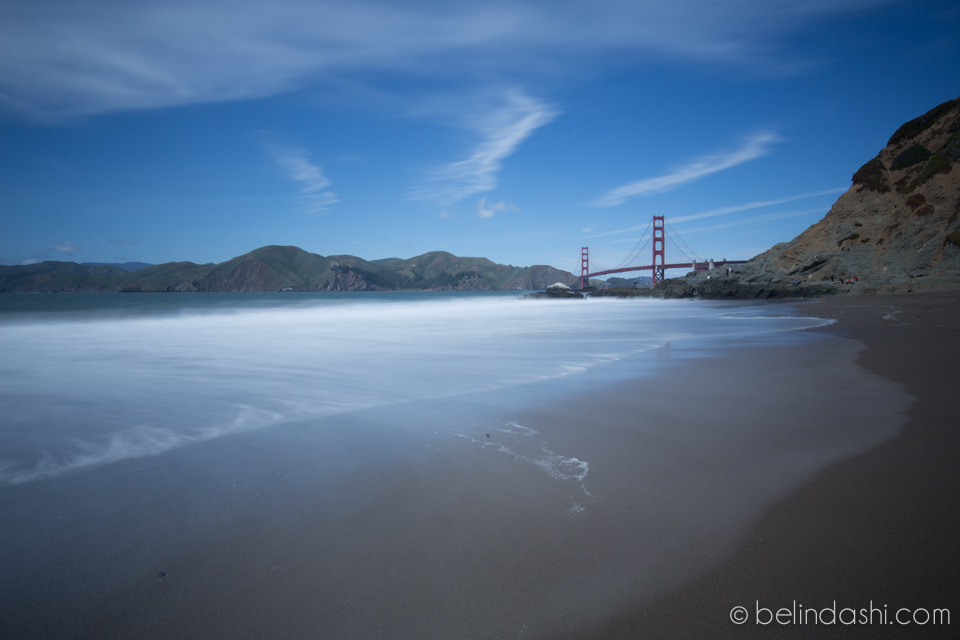
Below are two photos I've created. The first image below is the original long exposure from the camera, without any retouching. This image was captured at 2:45pm at Baker Beach in San Francisco. Apparently light was very harsh during mid-day. In order to create the dreamy feel of the ocean waves, the only solution is to "create" a dim light situation so your camera can execute a long exposure without over-exposing any part of the image. A 10-stop filter is the best tool (see when and how you should use filters). Of course you also need a tripod (see why do you need a tripod and how to choose one).
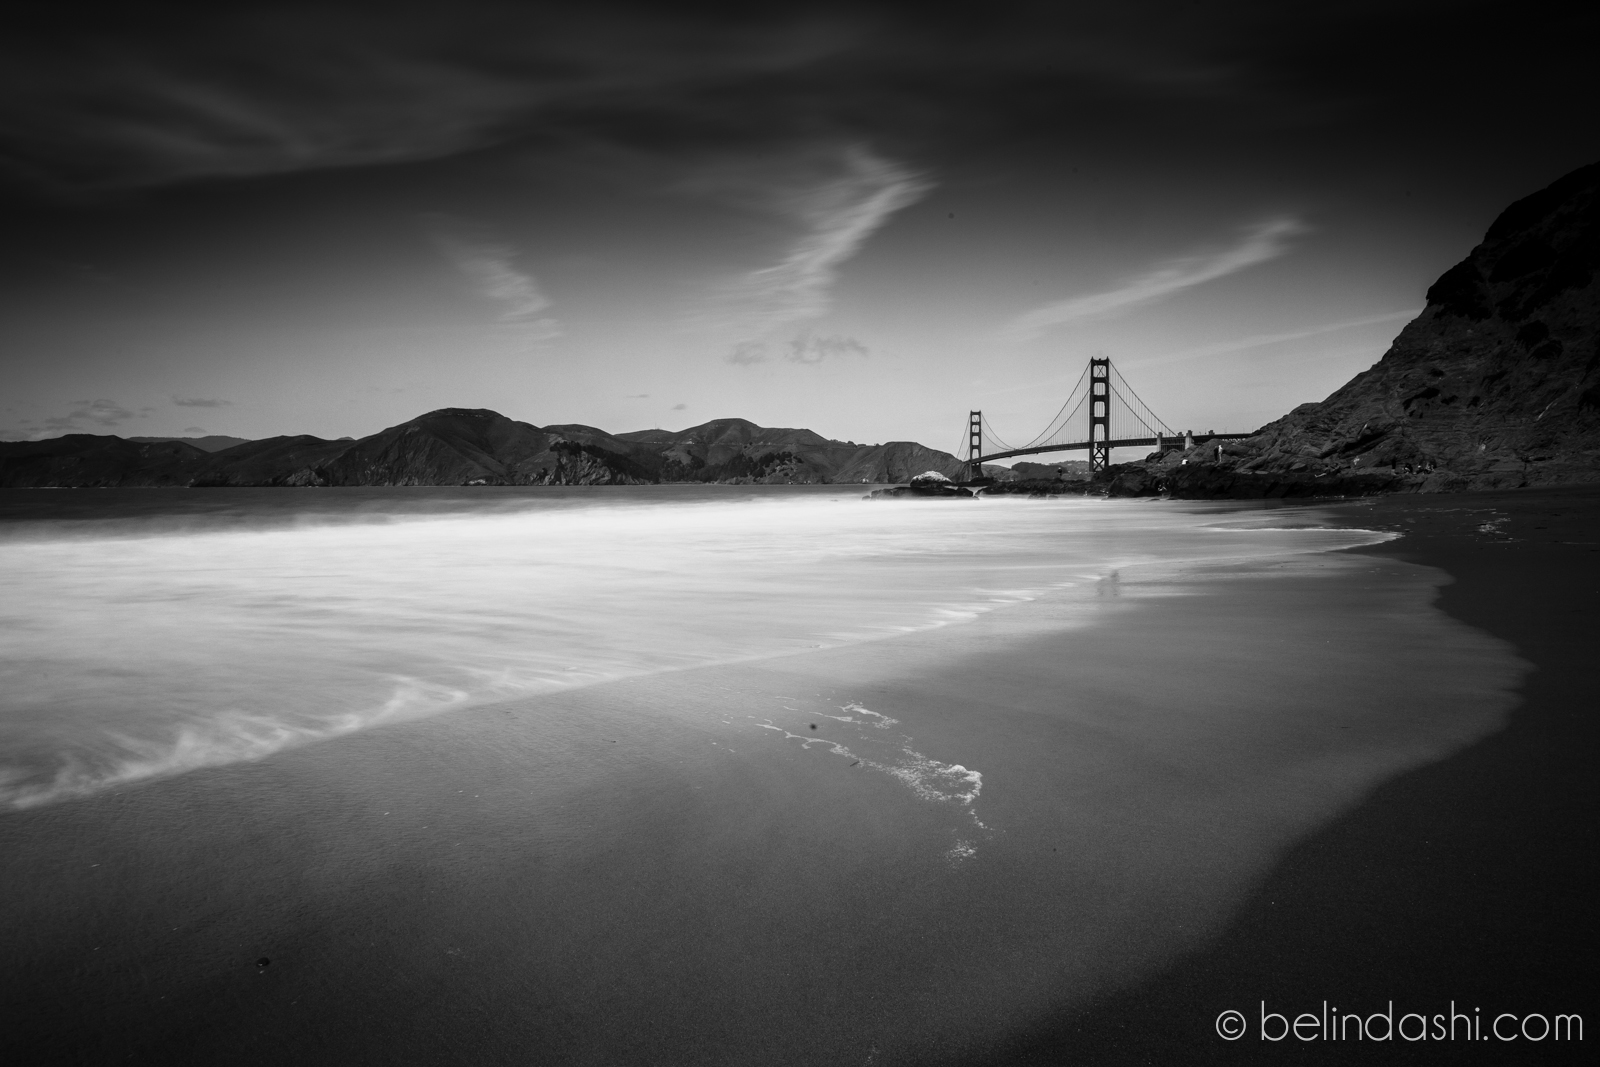
The major challenge to photograph landscape during the day, particularly if you are in a popular lookout, is that many tourists might show up in your frame. A great advantage of long exposure photography is to "smooth out" the moving subjects so people actually "disappear". I personally also prefer to use a wide angle lens so the unwanted tourists do not appear too big in your photo. For example, there are lots of people sitting or standing on the rocks in the right side of this image. Because of the distance and the use of a wide angle lens, you almost can't notice them. Therefore the composition still looks simple and clean (see Less Is More – 7 Approaches To Create Simple Yet Strong Composition).
Camera setting for the following image is: ISO100, 23mm, f/18, 15sec. Aperture priority mode. Other equipment includes Gitzo Traveler tripod, Really Right Stuff BH40 ballhead and Lee Big Stopper.
To see my complete workflow of my camera settings in the field, check out 10 Steps Workflow & Camera Setting For Best Landscape Photos
I can certainly use the above image as the final output. However according to my long advocated "simplicity style", I further simplified this image by reducing its colors.
Please don't get me wrong, I love colors and in fact spent majority of my time photographing landscapes during sunrise and sunset.
While this photo doesn't have the dramatic colors, and converting it into black and white would be my normal habit (see 2nd image), I created a "sunset" feel by applying a red brush over the monochrome (see the top image).
Baker Beach San Francisco Long Exposure
The entire process took me less than 1 minute, using my 5 second Magic Light Lightroom Presets and an additional red brush painted over the clouds and beach.
Of course it helps if you have a clear vision to see this final output even before you shoot your photo.


