
Adobe Lightroom Color to BW

Day 46 - Sylvan Lake At Custer State Park-002-3
Day 46 - Sylvan Lake At Custer State Park-002
There are many approaches to convert a color image into black and white. Over the past few years, I have used more than 30 (or maybe 50) different ways to convert my photos into BW using Lightroom, Silver Efex Pro and Pro 2 as well as Photoshop, and gradually refined my own workflow and style. Adobe Lightroom and Nik Software’s Silver Efex come with BW presets. They are not the best but can give you a basic first step to convert.
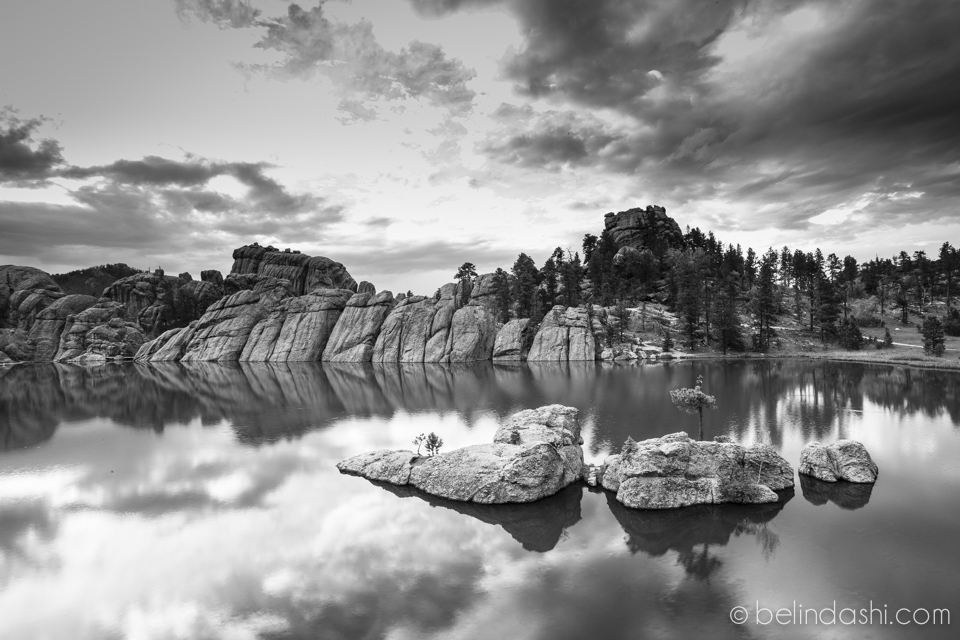
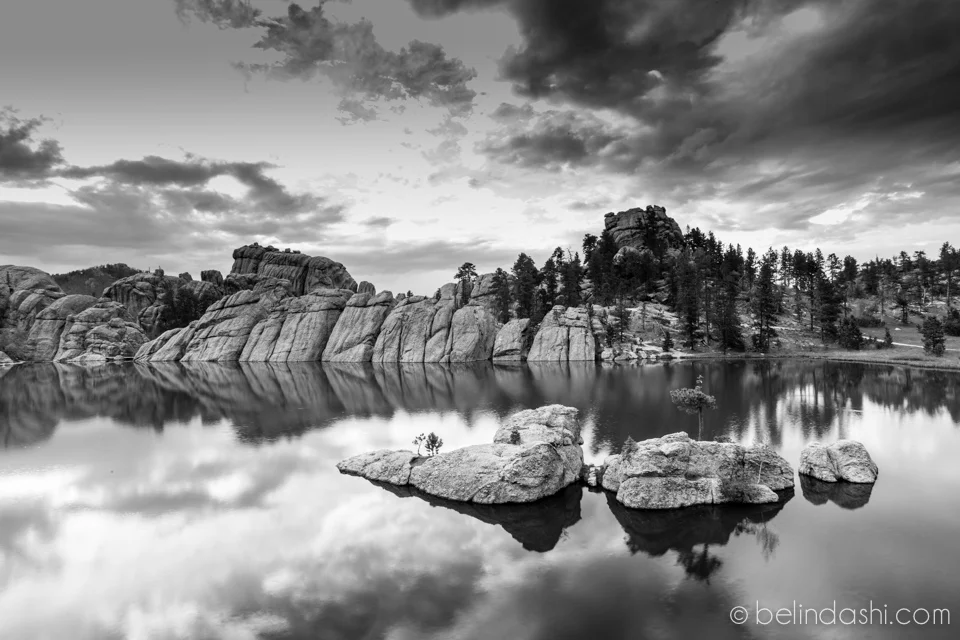
Of course the best satisfaction often comes from manual adjustment according to your own taste for each picture, provided that you have time.Below is the original image of Sylvan Lake State Park in South Dakota. It was captured during a sunset with heavy clouds but no color. Instead of throwing away the image, I decided to process it into BW.
Let me show you a couple of manual options only using Adobe Lightroom.The above image I have adjusted mainly in the Basic panel of Lightroom's Develop Module.
contrast +20
highlights -50
shadows +50
whites +10 (hold Alt, and move the slider to the right until some white pixels appear – white pixels will actually show red when you release Alt key)
black -37 (hold Alt, and move the slider to the left until some black pixels appear – black pixels will actually show blue when you release Alt key)
clarity +30
tone curve lights +10, dark -10
no change in BW mix
graduated filter top half of the image -3
enable lens correction
post-crop vignetting, amount -10
camera calibration using my modified camera landscape profile (this needs to be adjusted in the camera, basically I increase the contrast and sharpness for the “landscape” profile; and create a preset that looks similar, apply the preset when importing the photo. If this preset is not applied in the import stage, I can also apply this preset in the retouching stage)
Day 46 - Sylvan Lake At Custer State Park-002-2
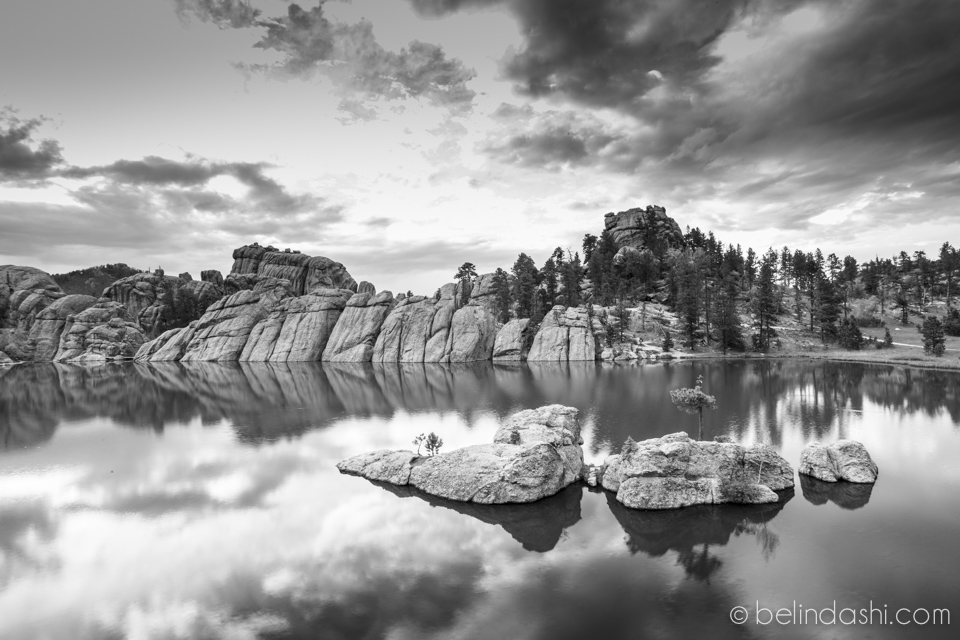
The second image above I have mainly used B&W mix adjustment instead of the Basic panel.
No change in Basic panel except Clarity: +45
Manually adjusted tone curve in S shape
B&W mix: Red -10, Orange -19, Yellow +23, Green +46, Aqua -18, Blue +10, Purple +16, Magenta +4
graduated filter top half -3, contrast +20, saturation +8
Enable lens correction
post-crop vignetting -15
As you can see the two options give similar output. I can show you so many other options from Lightroom, Nik Software or Photoshop that can produce similar output. Therefore there’s no right or wrong approach. The least expensive and easier resource you need is Adobe Lightroom, and time! For most amateur photographers, there's little you cannot achieve in Lightroom that you have to use another software for help.
If you have limited time or have high volume production (eg. I photographed more than 9000 photos over 2.5 months on my road trip), you obviously don’t have the time to tweak each image for 10-15 minutes every day. The best solution is to use presets which are big time saver and help you control quality consistently. Last but not least, depending on the original photos, you might want to apply different adjustment to each image in order to achieve satisfactory result.
To significantly speed up your retouching workflow, click below or check out the 3rd P of my 3P Photo Creation Process.
you may also love…


Different from taking landscape photos, when I generally have heavy planning in advance, my travel photos have a much higher rate of “error” to begin with. Watch my video tutorial on how I edit my travel photos.