How To Use Landscape Photography Equipment on Food
I recently developed a new hobby: cooking. It almost completely took over my time for landscape photography. Well, the truth is that life gave me a big surprise a few months ago, and led me to a different creative field: creating a little being in my belly, for the first time. Yes I'm pregnant!
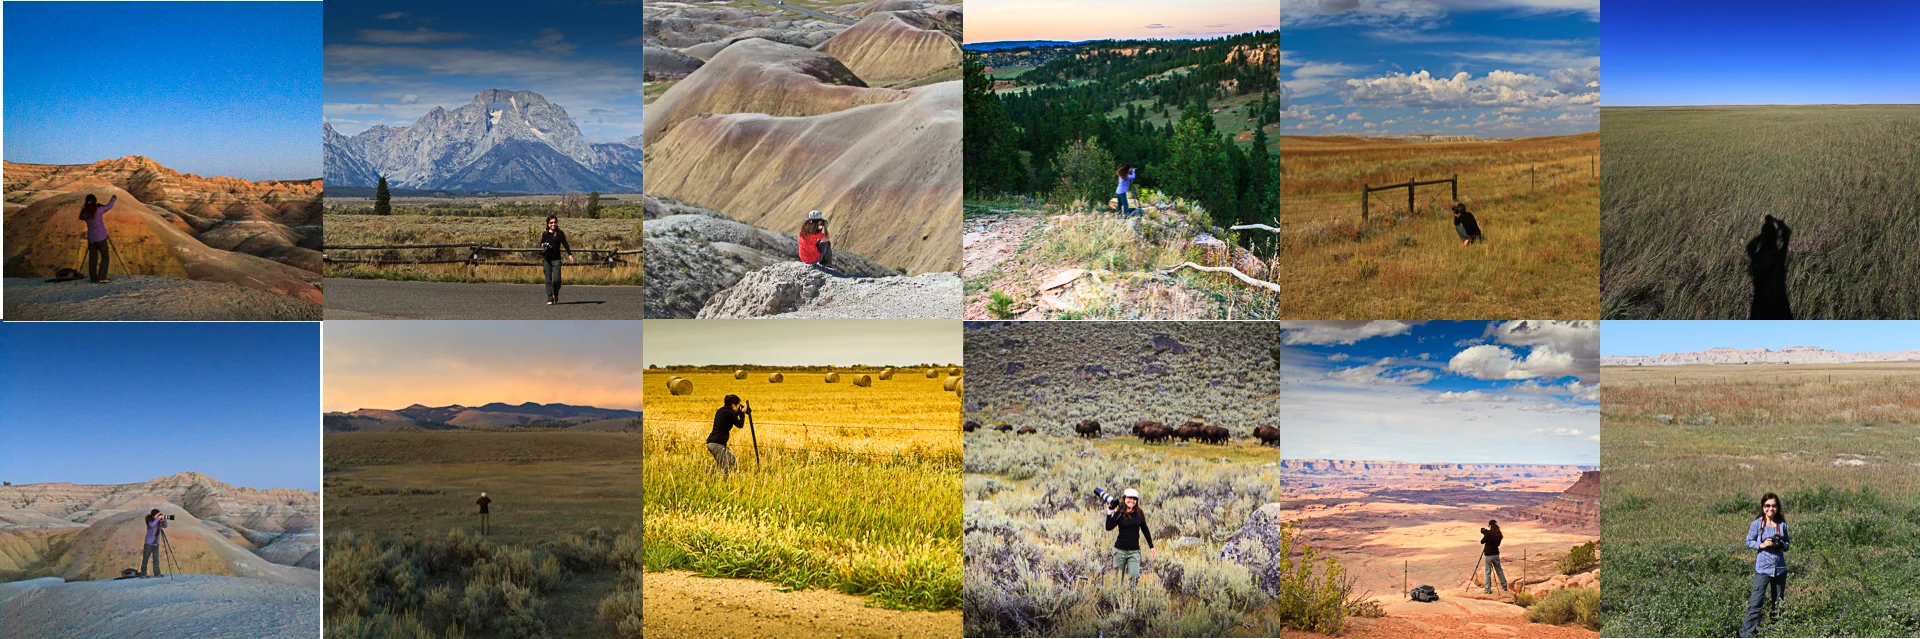
After a few busy trips to New York and the California high sierra during my first trimester, I was advised to rest a little and not to carry heavy photography gear all the time. I canceled all the forthcoming domestic and international trips, including the Alaska Arctic Circle Photo Trip. Alas, it’s less risky to stay put in San Francisco than to drive hours along Dalton Highway, the most isolated road in the US and the northernmost road on earth. My photo adventure can wait, and it doesn’t have to be outside my home.
As a byproduct of this change and the resulting unpredictable taste palette, I started cooking fanatically. I felt a strong craving for Chinese food, mostly hometown Shanghainese cuisine, as well as the spicy Sichuan cuisine. Since authentic cooking is hard to find, even in the Asian populated San Francisco, I took out several cookbooks dormant on my bookshelf and was determined to turn myself into chef Belinda. :-)
The following few dishes were all my first tries – I'm pretty proud that they looked just as good as they tasted. I have used various camera settings for the following photos, mostly using natural window light (unless otherwise specified).
Spicy eggplants in Sichuan style.
ISO500, 43mm, f/5.6, 1/125sec. Camera handheld
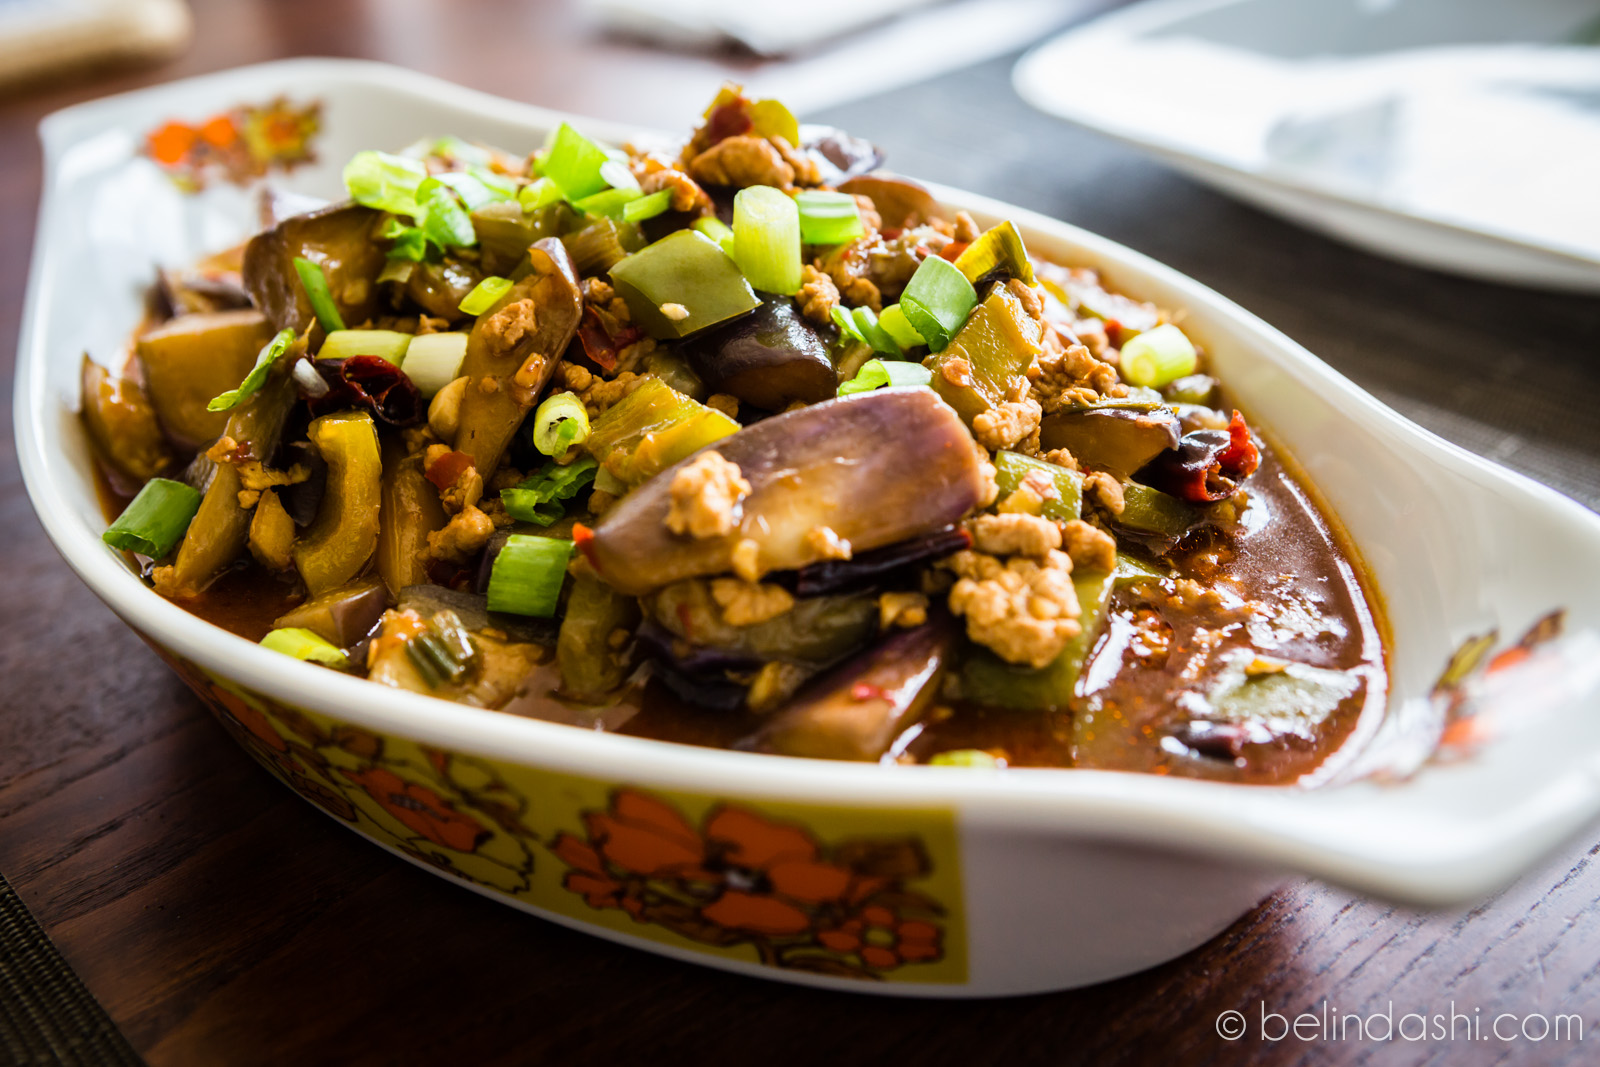
spicy eggplant
Shanghai style vegetable rice.
ISO100, 64mm, f/6.3, 1/6sec. Tripod used.
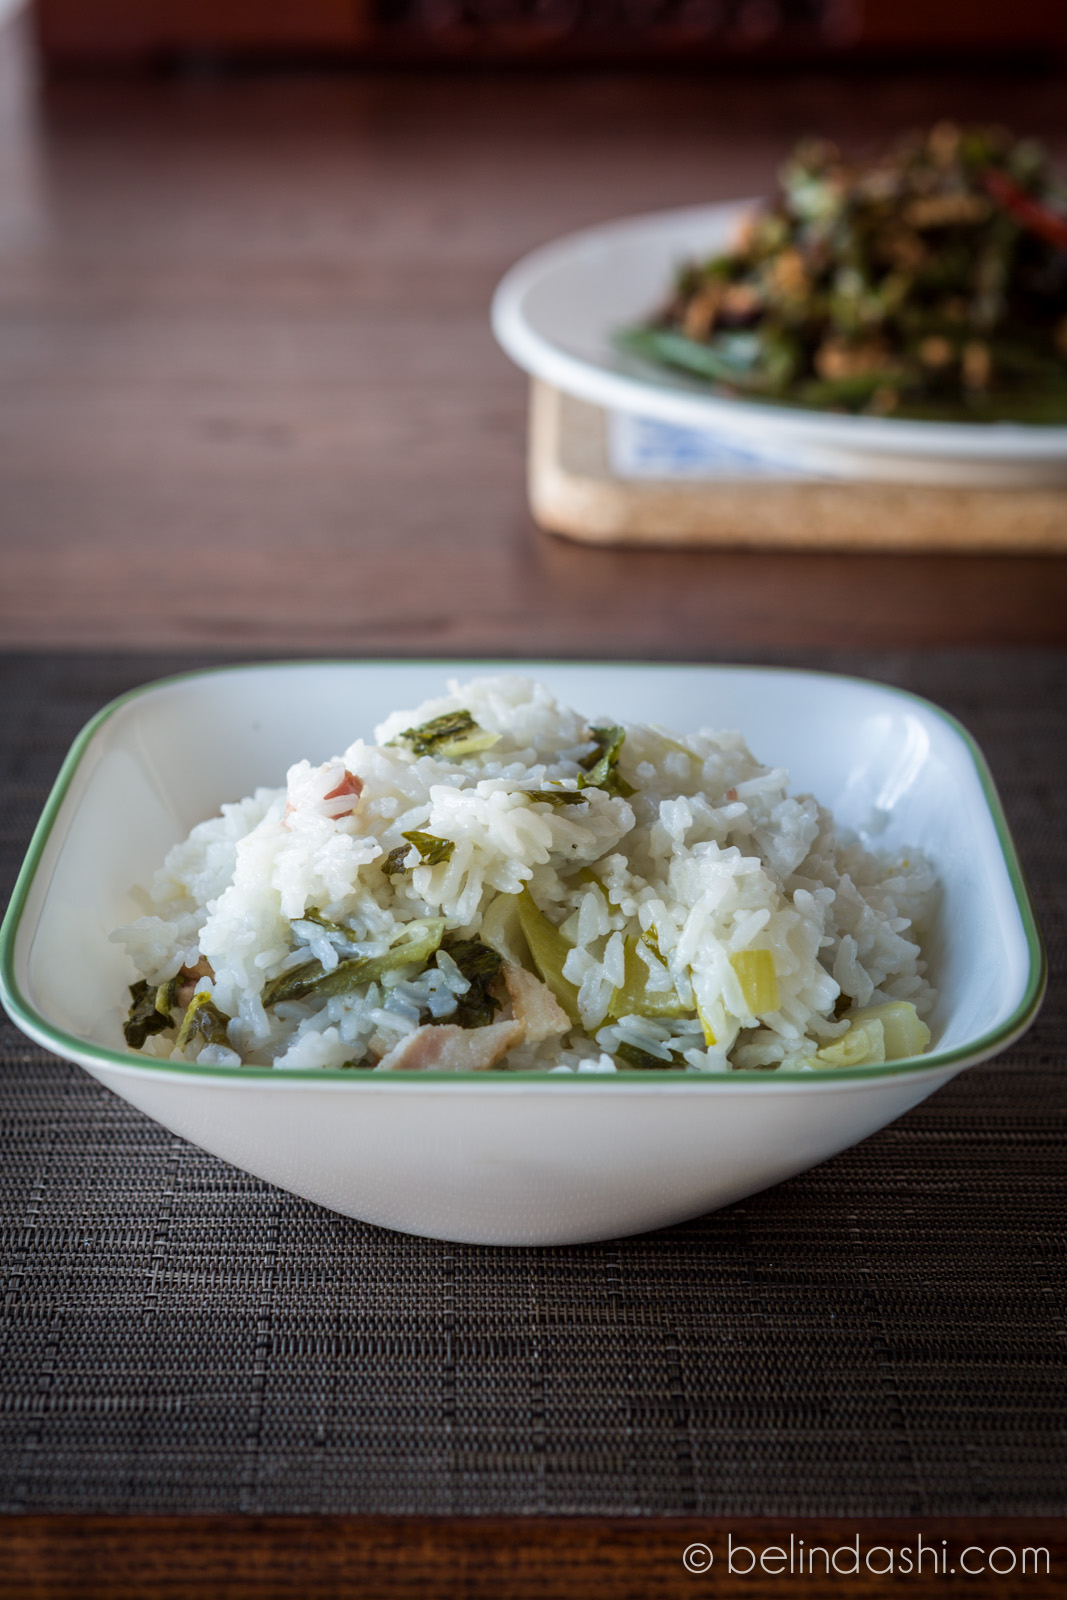
vegitable rice
If you are a foodie and enjoy taking food photos, here are some easy tips. First and foremost, food photography could be much easier than landscape photography – you can use iPhone to click random shots anytime. But if you want to take quality food photos, and showcase your cooking, you need to put in a bit more effort. Fortunately, some skills you use in landscape photography are very useful in food photography.
1. Find the best light if you want to handhold your camera
The simplest way to photograph food is of course hold your camera in hand and snap a shot. Can you do this all the time? It depends. Light is key. Oftentimes we photograph food indoors, whether at home or in a restaurant. The best time to photograph your cooking or food is in natural daylight, next to windows. You should set your table not too far away from the window but not directly in the sun.
Shanghainese scallion noodle.
ISO1250, 50mm, f/6.3, 1/200sec. Camera handheld.

Shanghainess scallion noodle
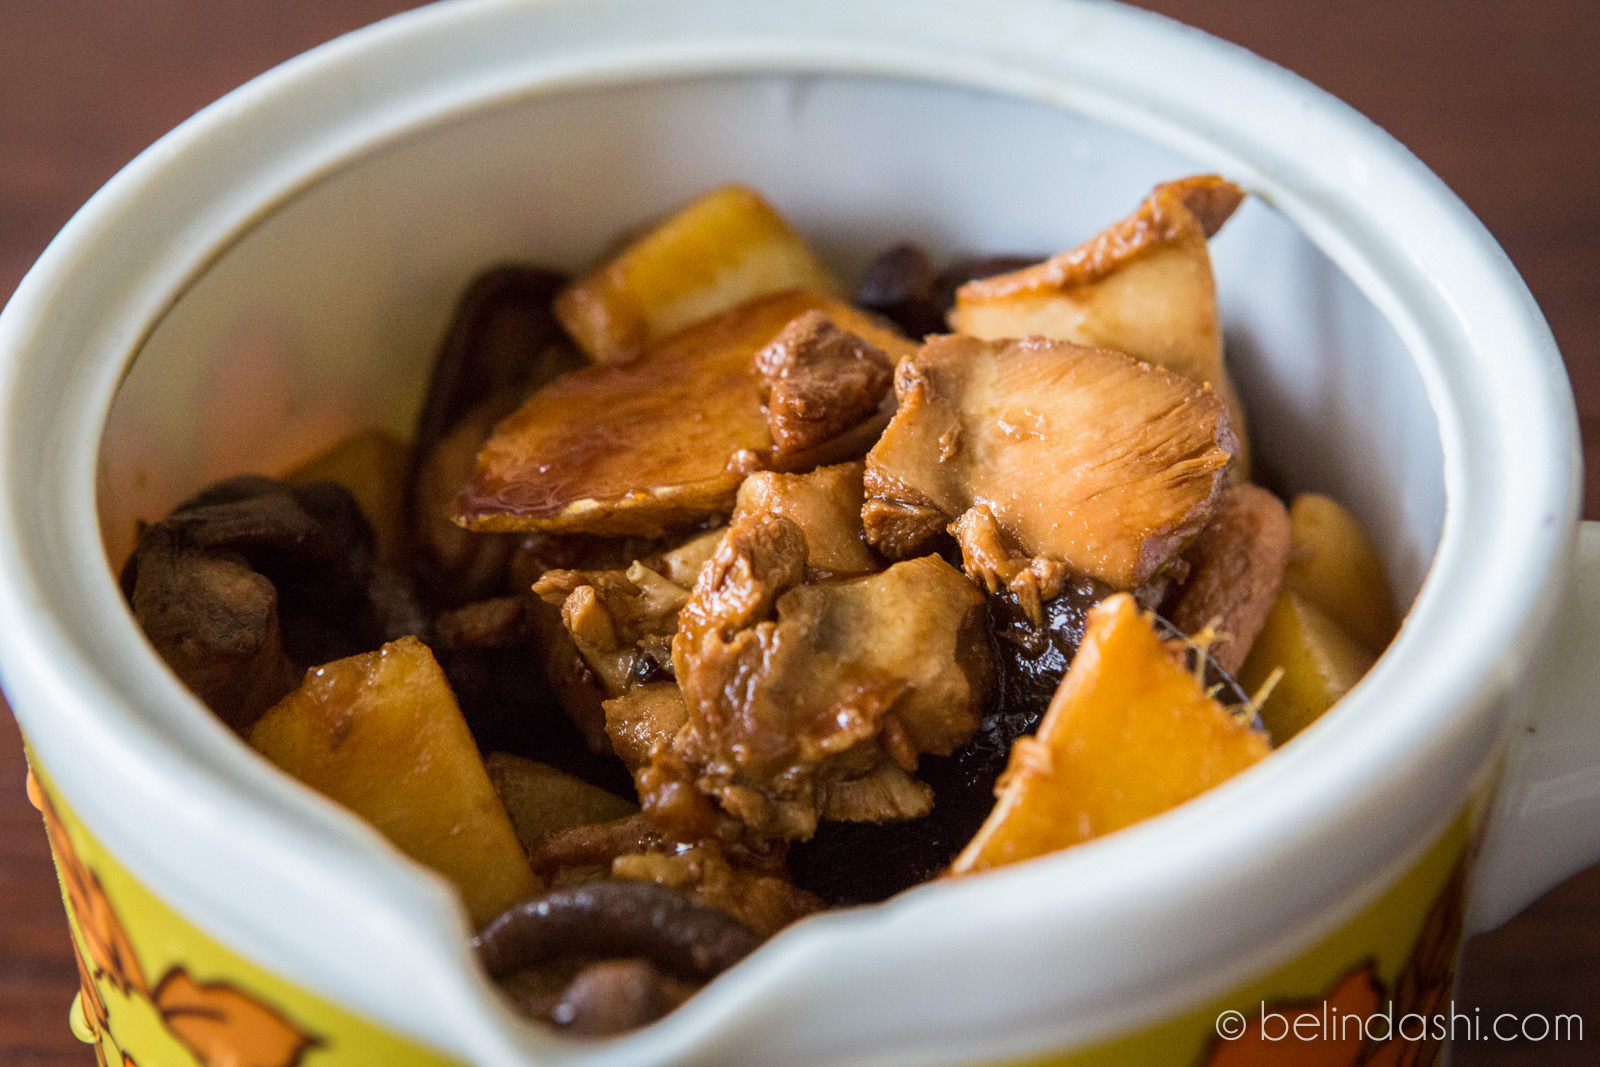
Potato chicken rice.
ISO640, f/4.5, 1/800sec. Camera handheld

potato chicken rice
However if you choose to photograph at dinner time – understandable because you make more effort cooking in the evening than other time of the day – you need to be very careful about light. In the summer time when the daylight is long, you have plenty of chances to photograph in natural light. But if your only available light is florescent, tungsten, or candle light, you might inevitably need longer exposure time or your image could end up blurry. Here’s why tripod comes handy.
2. Using a tripod
In fact I find it easiest to use a tripod to photograph cooking process and my end product. You can easily lengthen your exposure time with a relatively low ISO, so you won’t get unnecessary digital noise. There’s nothing to worry about how long the exposure time you use for food photography – because the food is static and won’t go anywhere (as compared to photographing moving objects such as moon, river etc.). The major setting you need to change is aperture.
I’d suggest using aperture priority mode, and set an ISO lower than 1600 (or higher if you are using professional DSLRs), play around aperture between f2.8 to 10, and see the difference of your photo. The former gets you a partially focused area in your dish, and a nice blur or even bokeh in the background, while the latter gives you more detail of everything. Whichever you choose is completely personal.
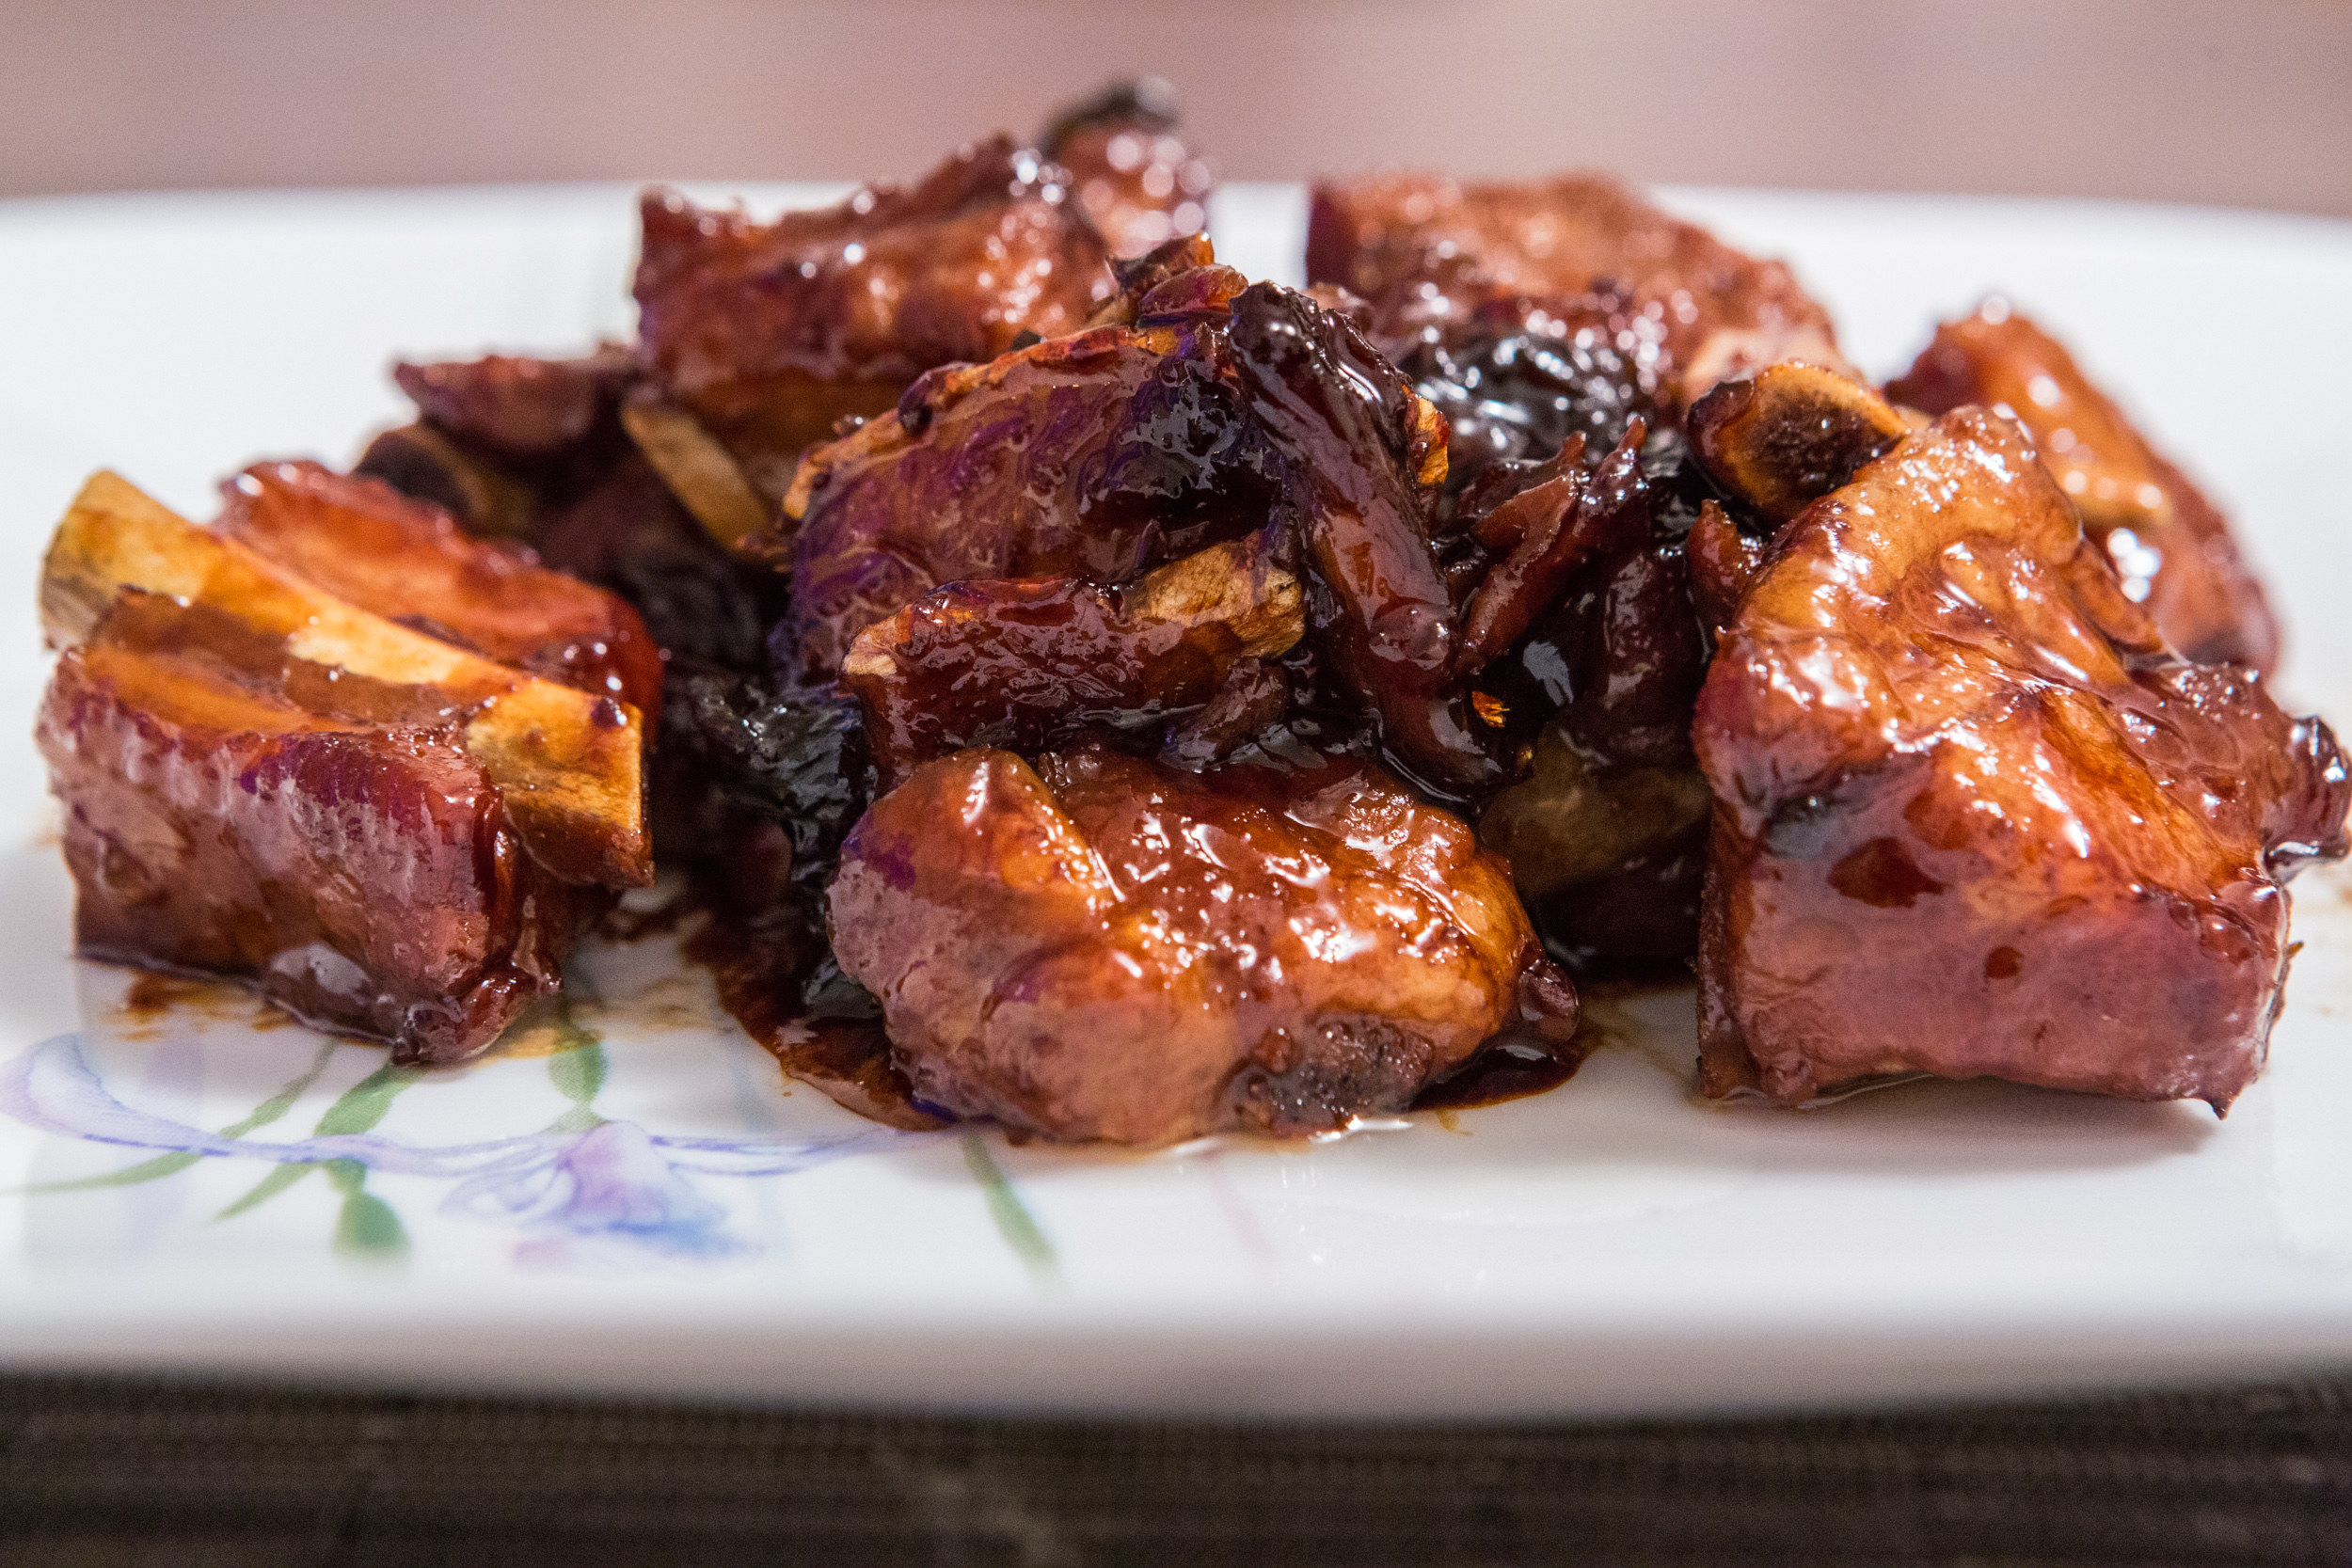
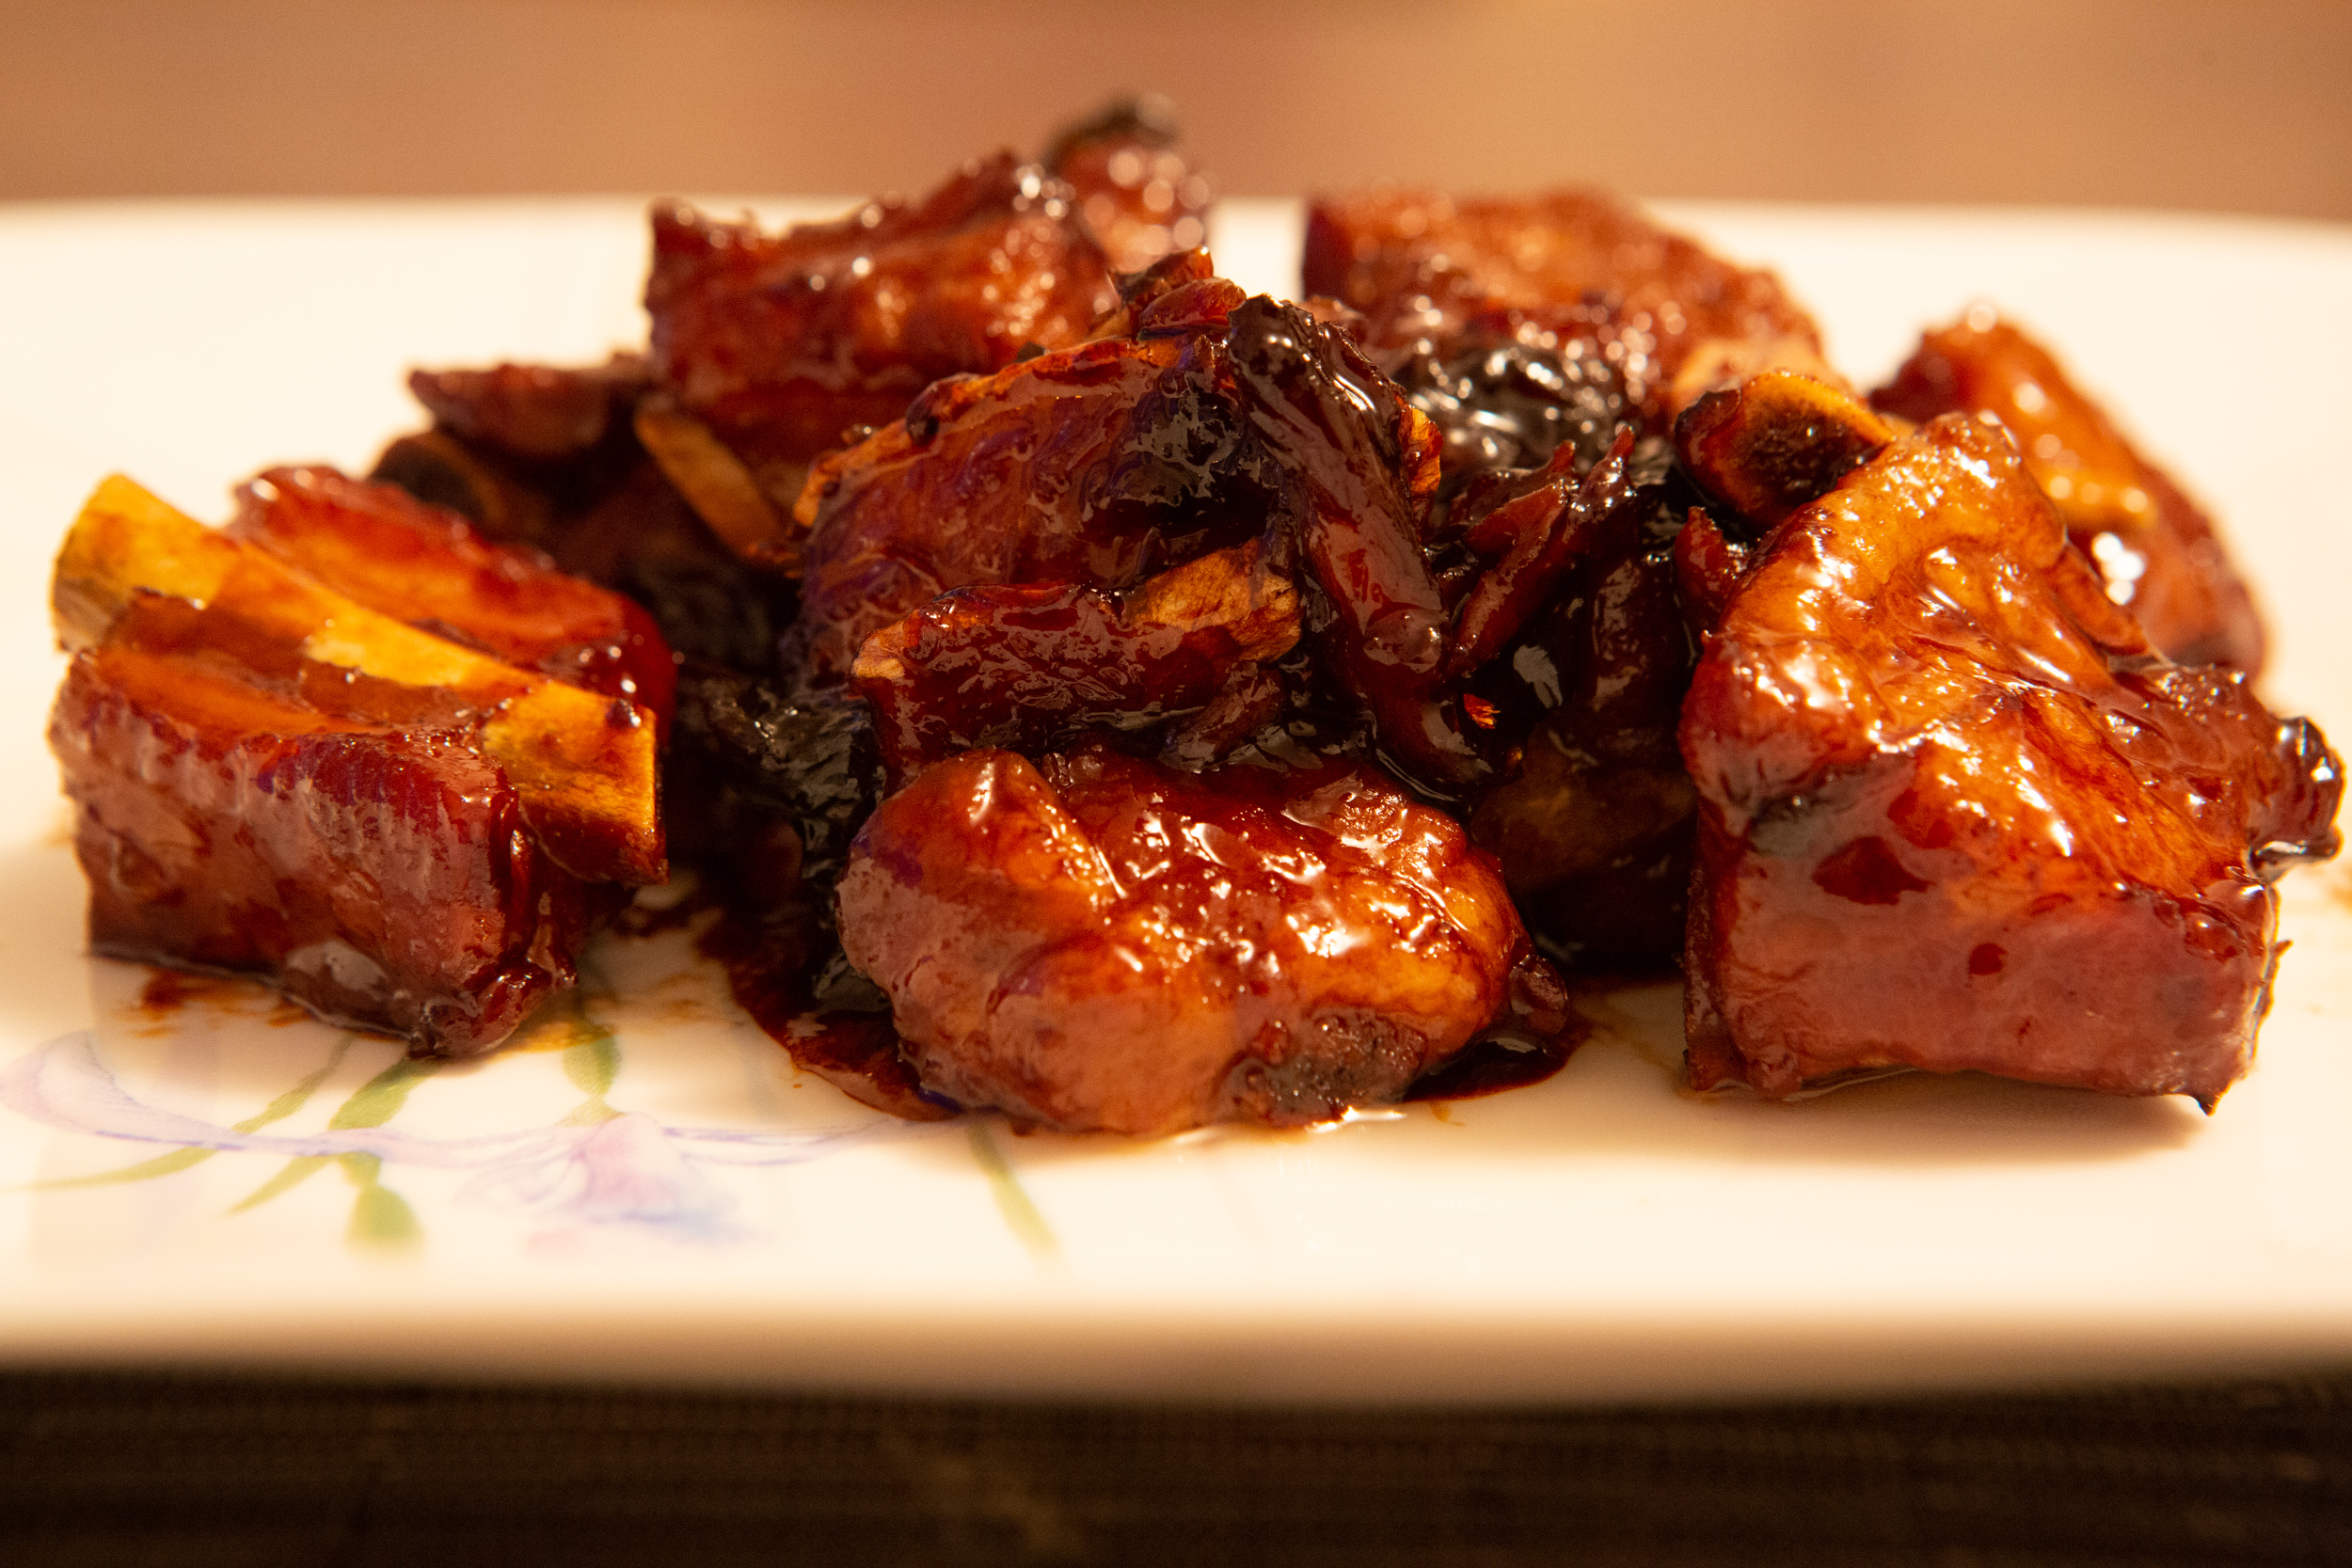
Shanghainese sweet and sour pork.
ISO4000, 70mm, f/8, 1/8sec, tripod used. Photographed under tungsten light. Color corrected in post processing.
Five spiced beef. ISO100, 67mm, f/8, 1/4sec, tripod used.
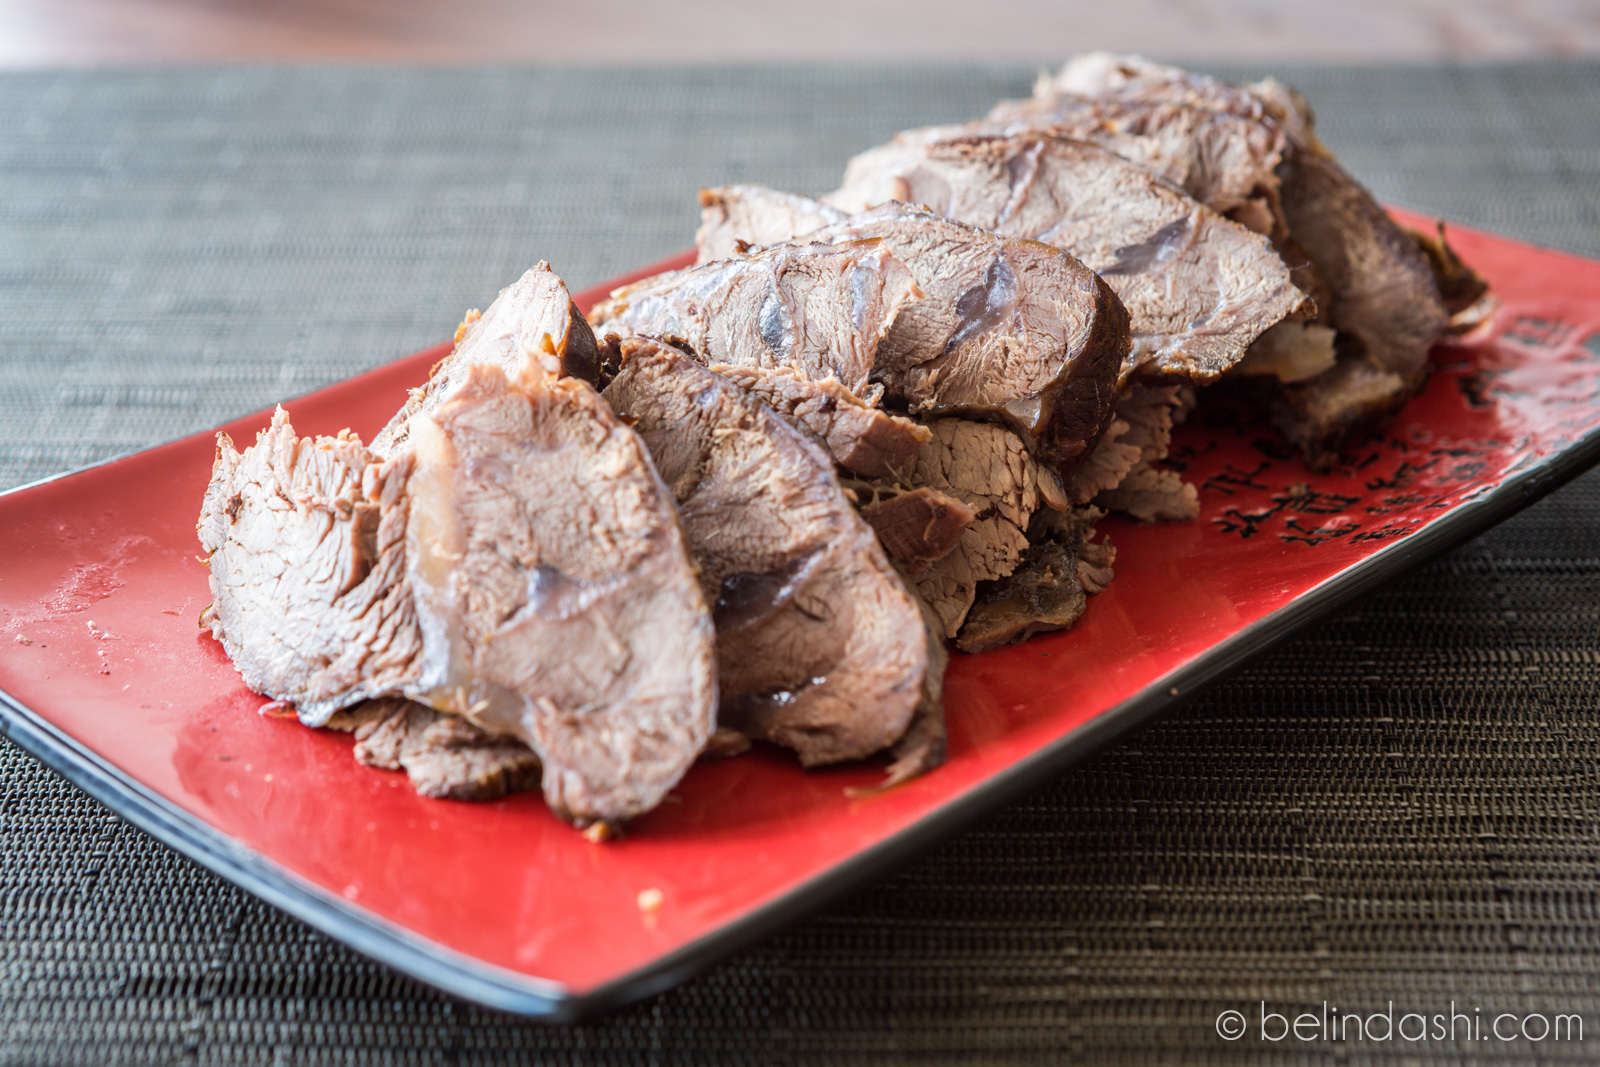
five flavored beef
Another benefit of using a tripod is to showcase your cooking steps. You can focus on your cooking and simply click the shutter when you need to, instead of fumbling between cooking utensils and camera with wet or greasy hands.
Deviled eggs.
All of the following six images use manual mode with the same setting of 70mm, f/4.5, 1/200sec. ISO is set between 125 to 400 which result in little change.


Caveat: Of course if you are dining in a restaurant, it’s obviously not a good idea to use tripod, no matter how accommodating the restaurant and other guests are. In this case, I use my best weapon – iPhone :) - and focus more on the composition of the image.
3. Get the right angle and composition
Similar to landscape photography, there’s no right or wrong formula as to which angle or composition is the best for food photography. However, there are a few suggestions.
If you want to highlight the food as the main subject, cut out unnecessary background (see Less Is More – 7 Approaches To Create Simple Yet Strong Composition and Four Easy Steps To Improve Your Composition). You can place your camera as close to the plate as possible (eg. less than 1 foot if your lens allows) and even cut out some part of the plates, if they are plain white.
Shanghai style soy sauce fried prawn.
ISO320, 57mm, f/6.3, 1/10sec, tripod used.

Shanghai prawn
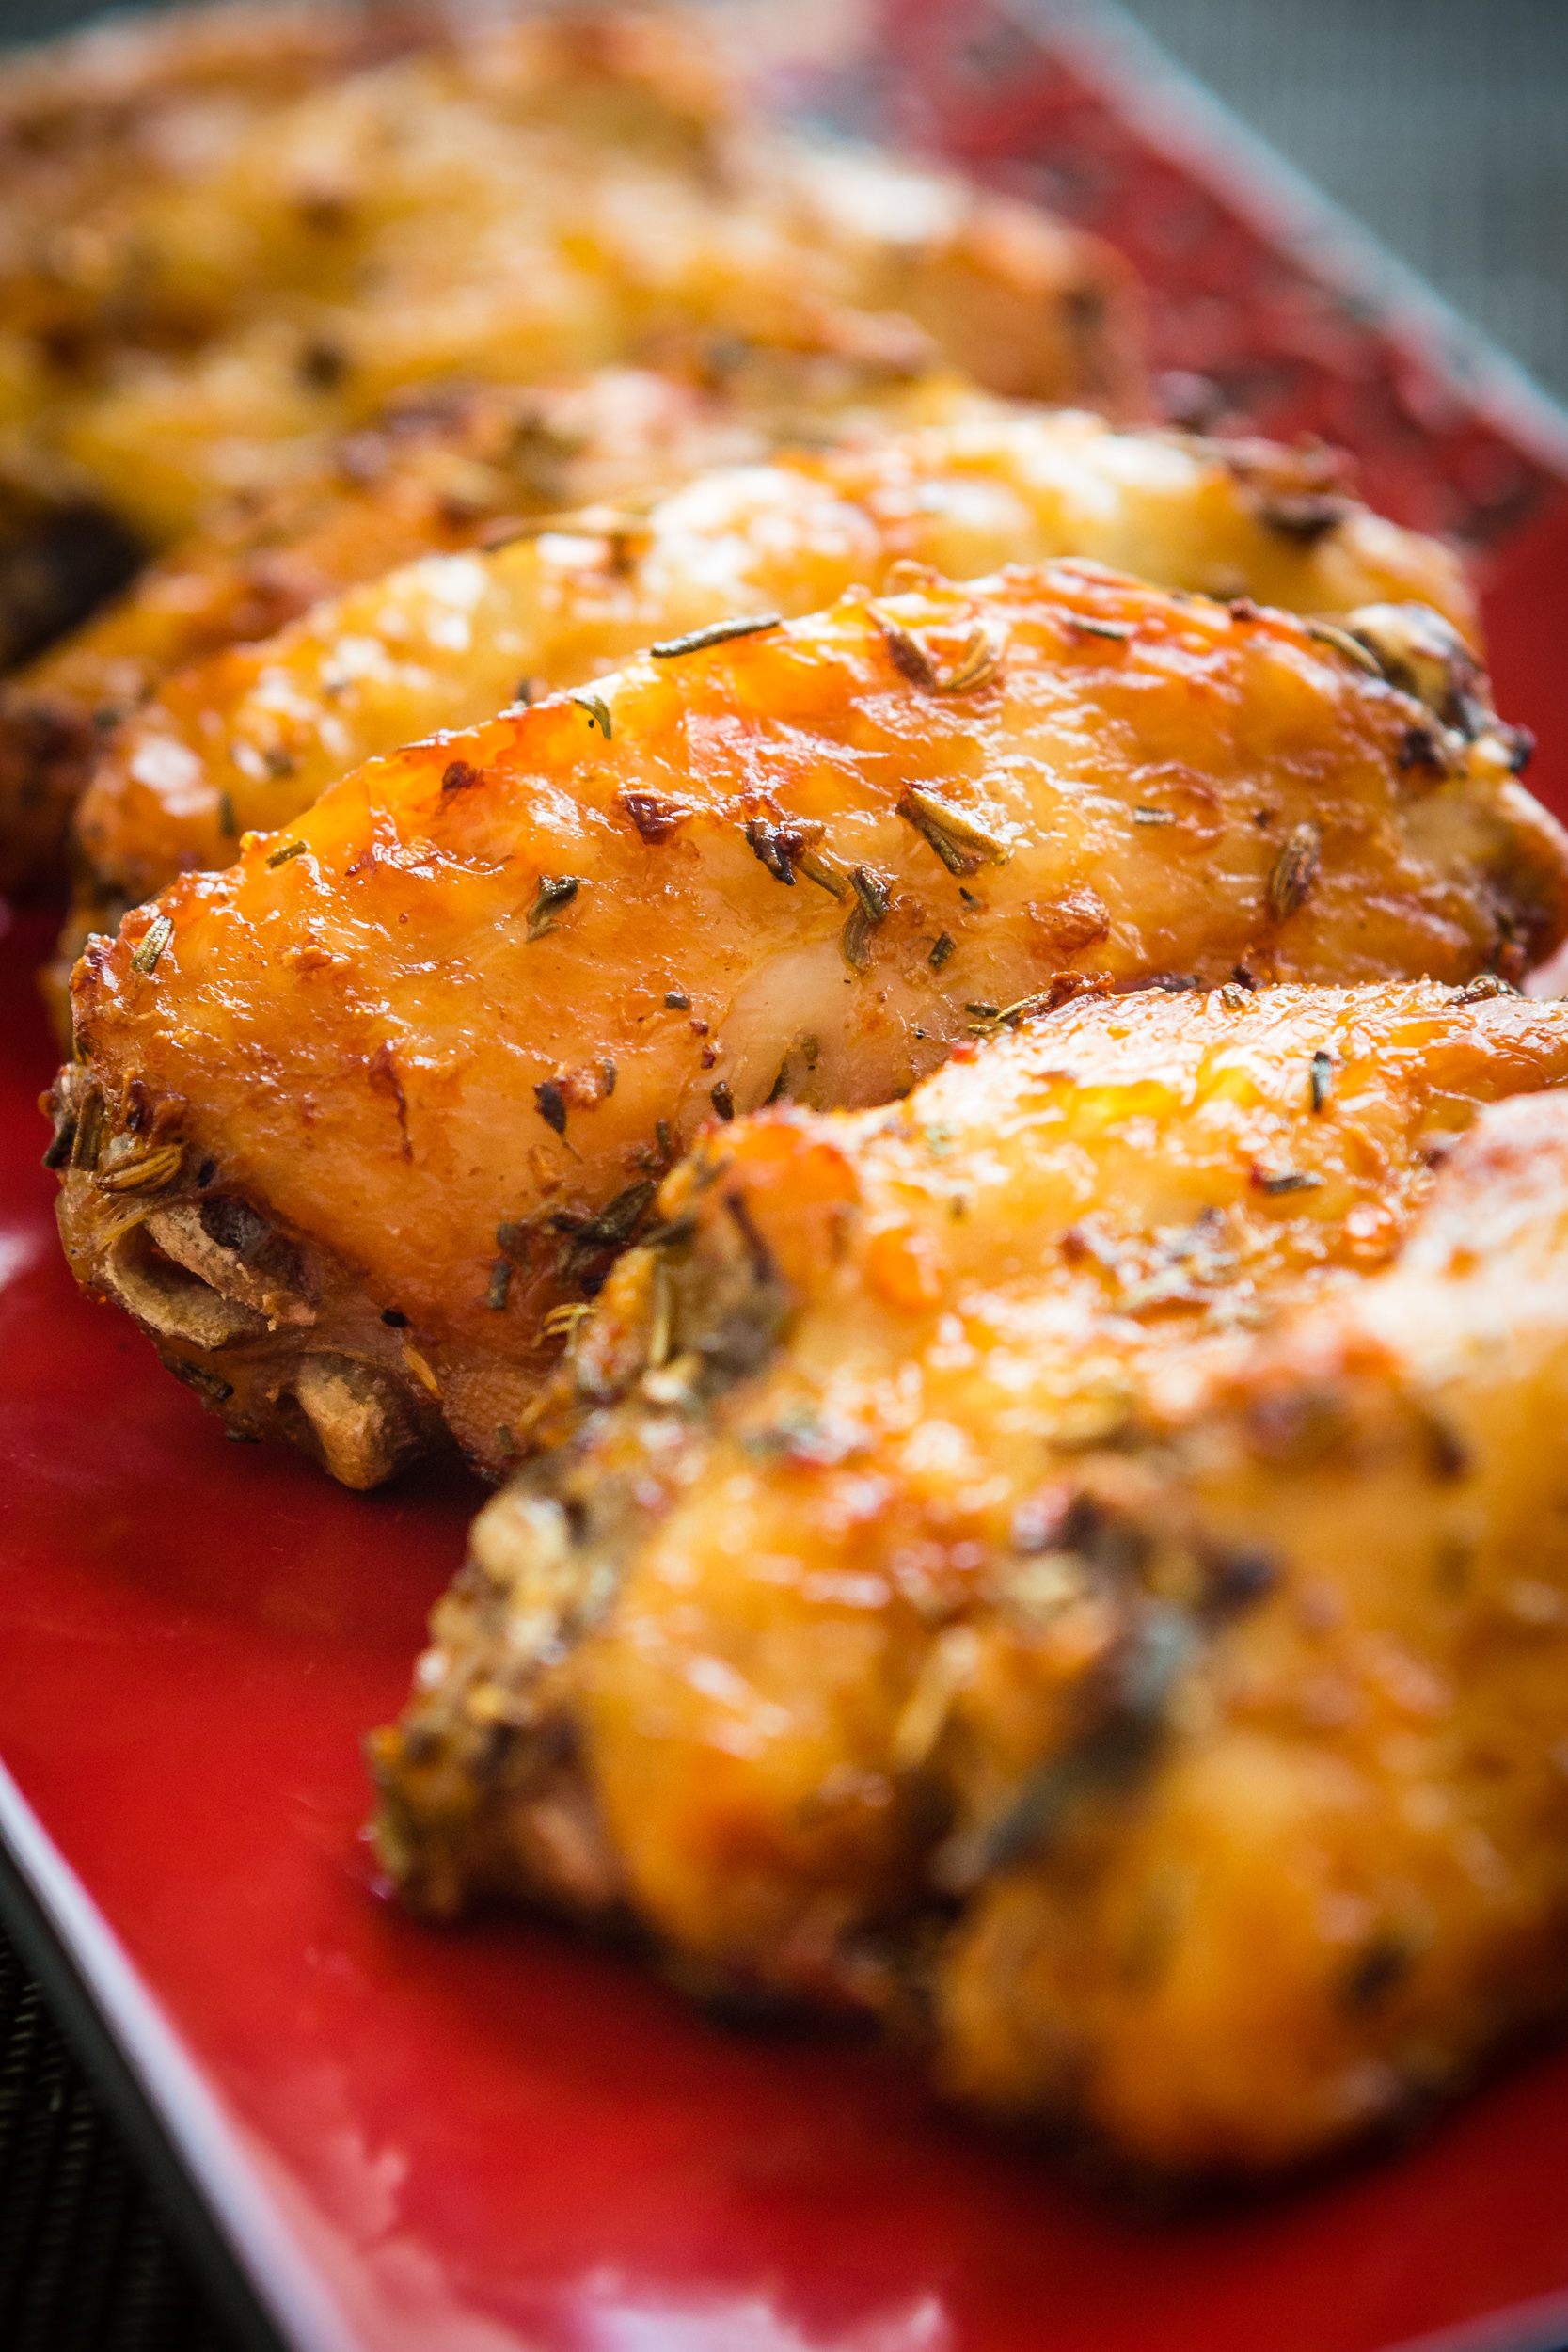
Italian herbs Chicken Wings.
ISO1250, 63mm, f4.0, 1/250 sec.
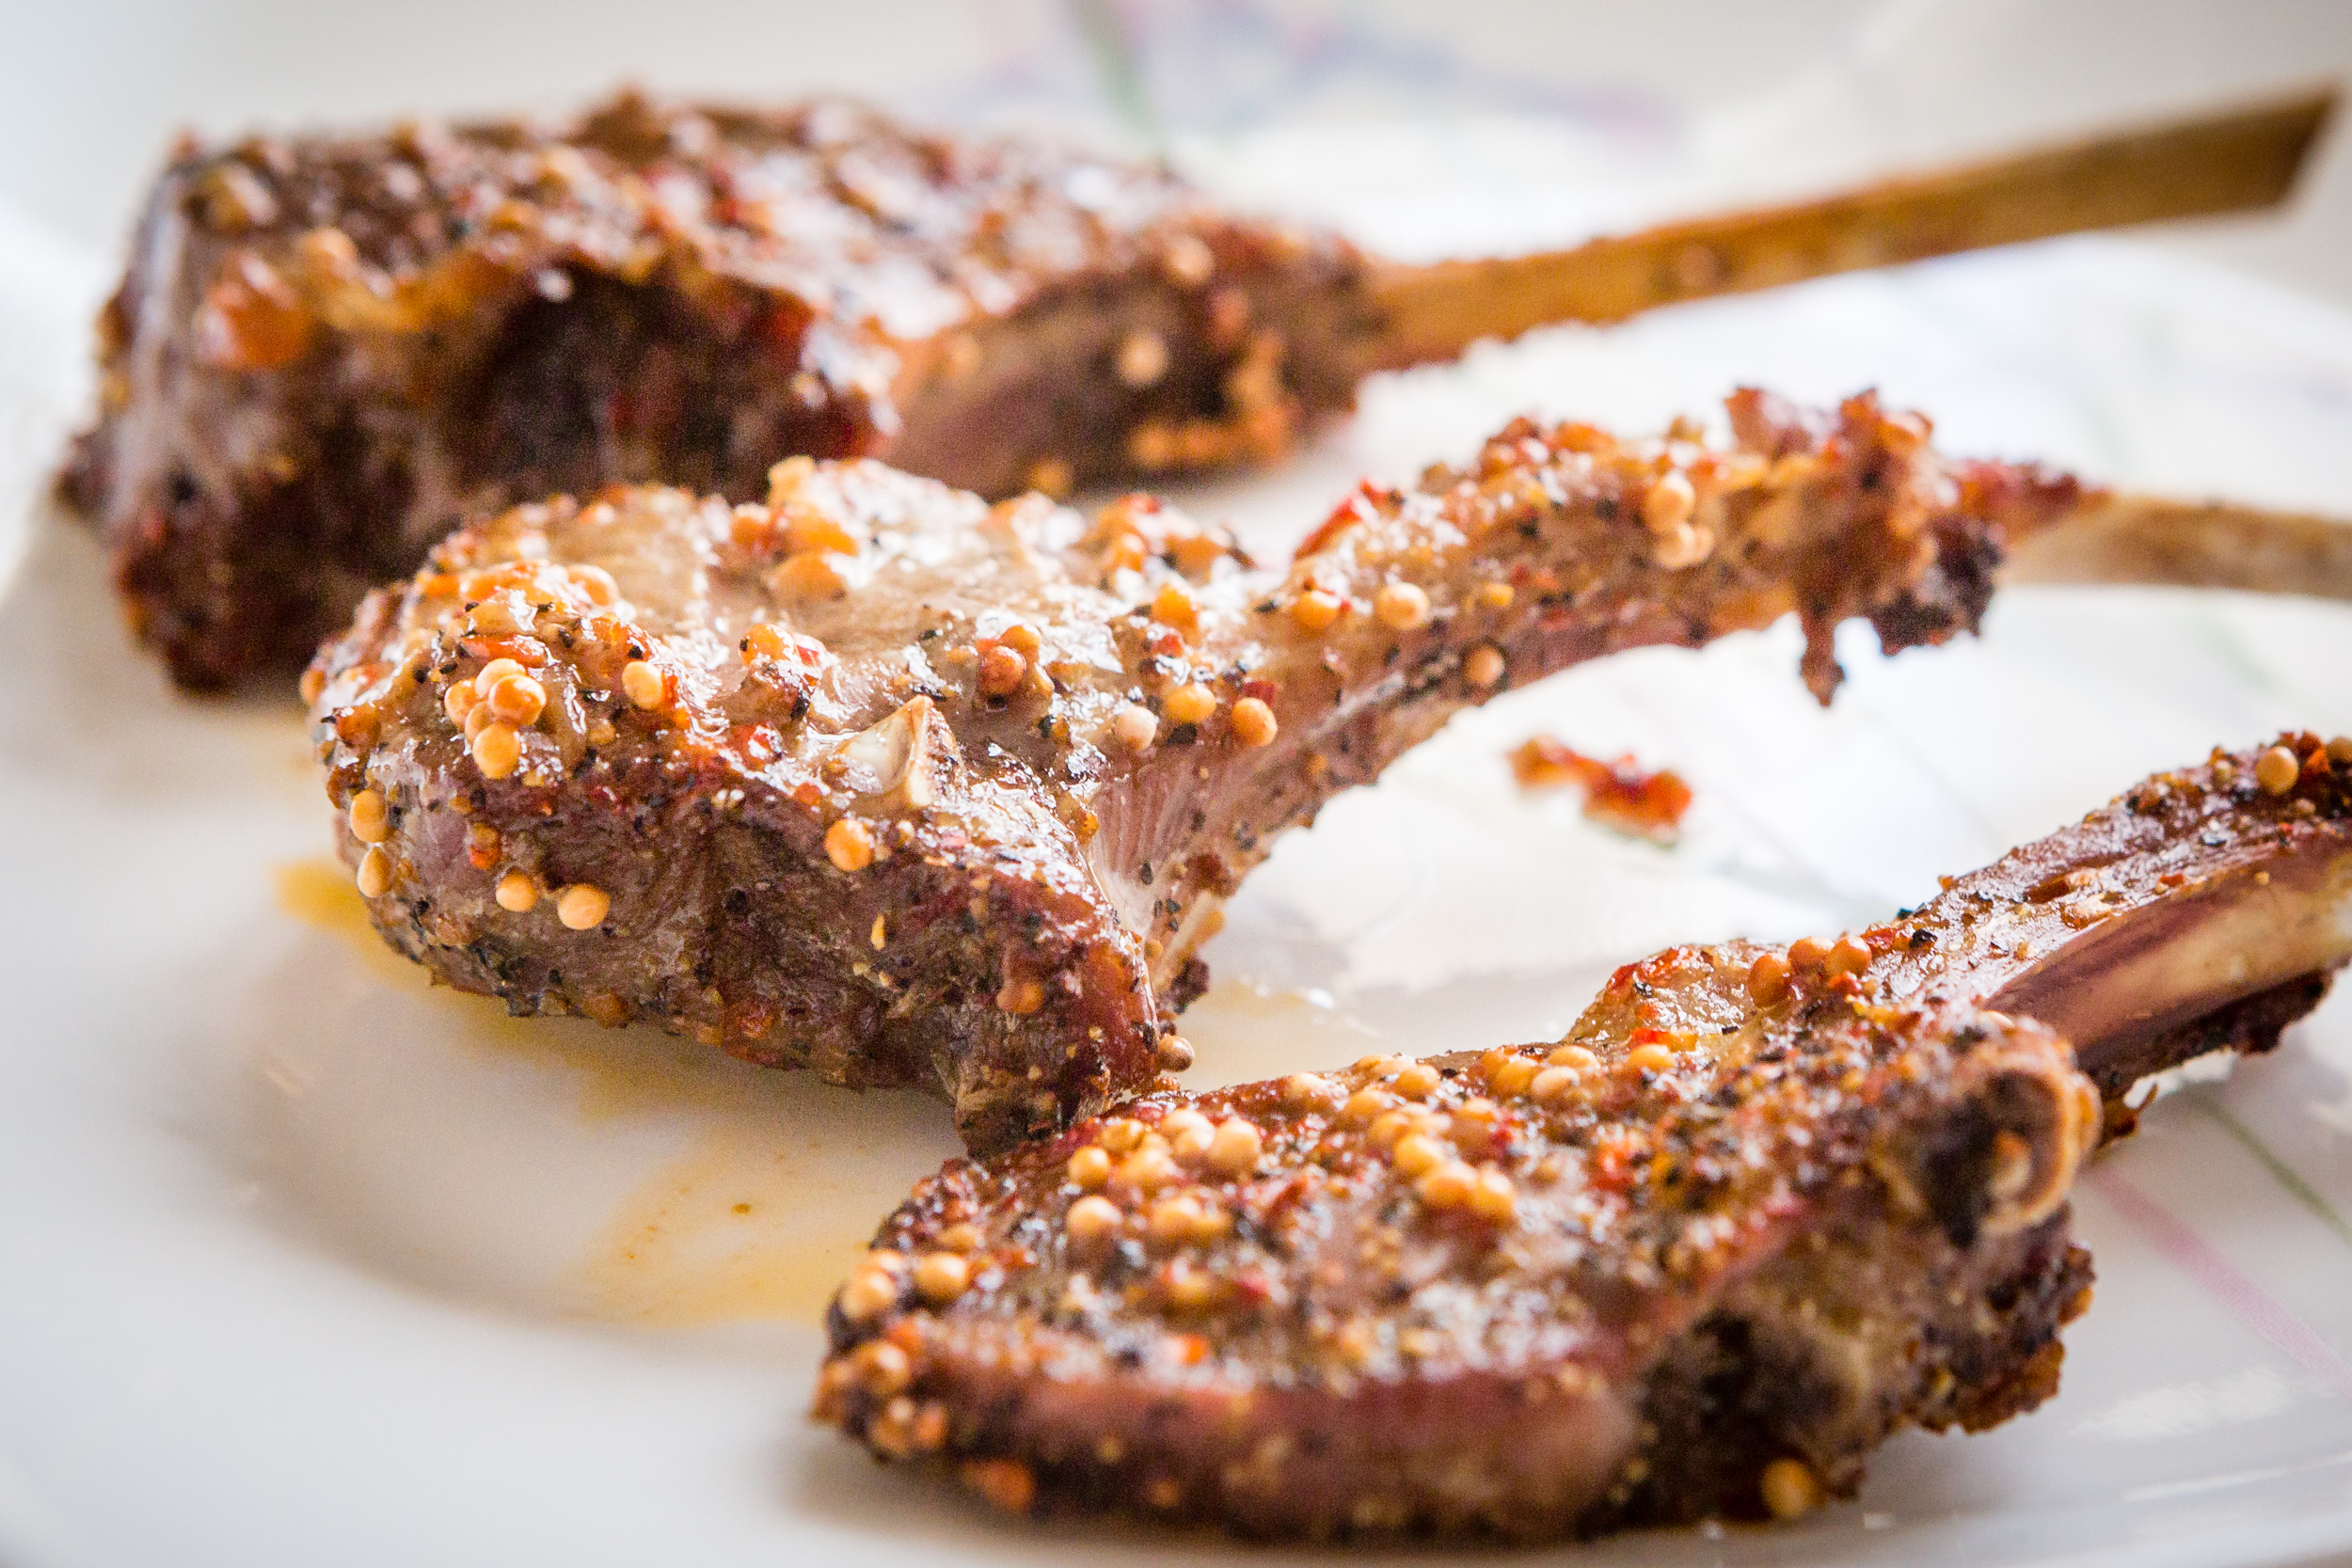
Oven baked lamb chops.
ISO400, 64mm, f/6.3, 1/250sec.
Mushroom chicken. ISO8000, 65mm, f/6.3, 1/200 sec. Camera handheld.
mushroom chicken
Of course if the background is interesting, by all means include as much as you want.
Vermicelli with minced pork.
ISO1600, 50mm, f/7.1, 1/200sec. Camera handheld.

ants climbing the trees
Be aware of the direction of light and avoid unnecessary shadows. If you are standing between the window and the food during the day, apparently you could block the light. If you place your camera between the lamp and the food in the evening, you might cause unnecessary shadow. Try to move 90 degrees from the light source, or sometimes, directly into the light source. Play around and see what result you get.
Sesame oil spinach with goji.
ISO100, 70mm, f/2.8, 0.3 sec. Tripod used. 90 degrees from the window light.
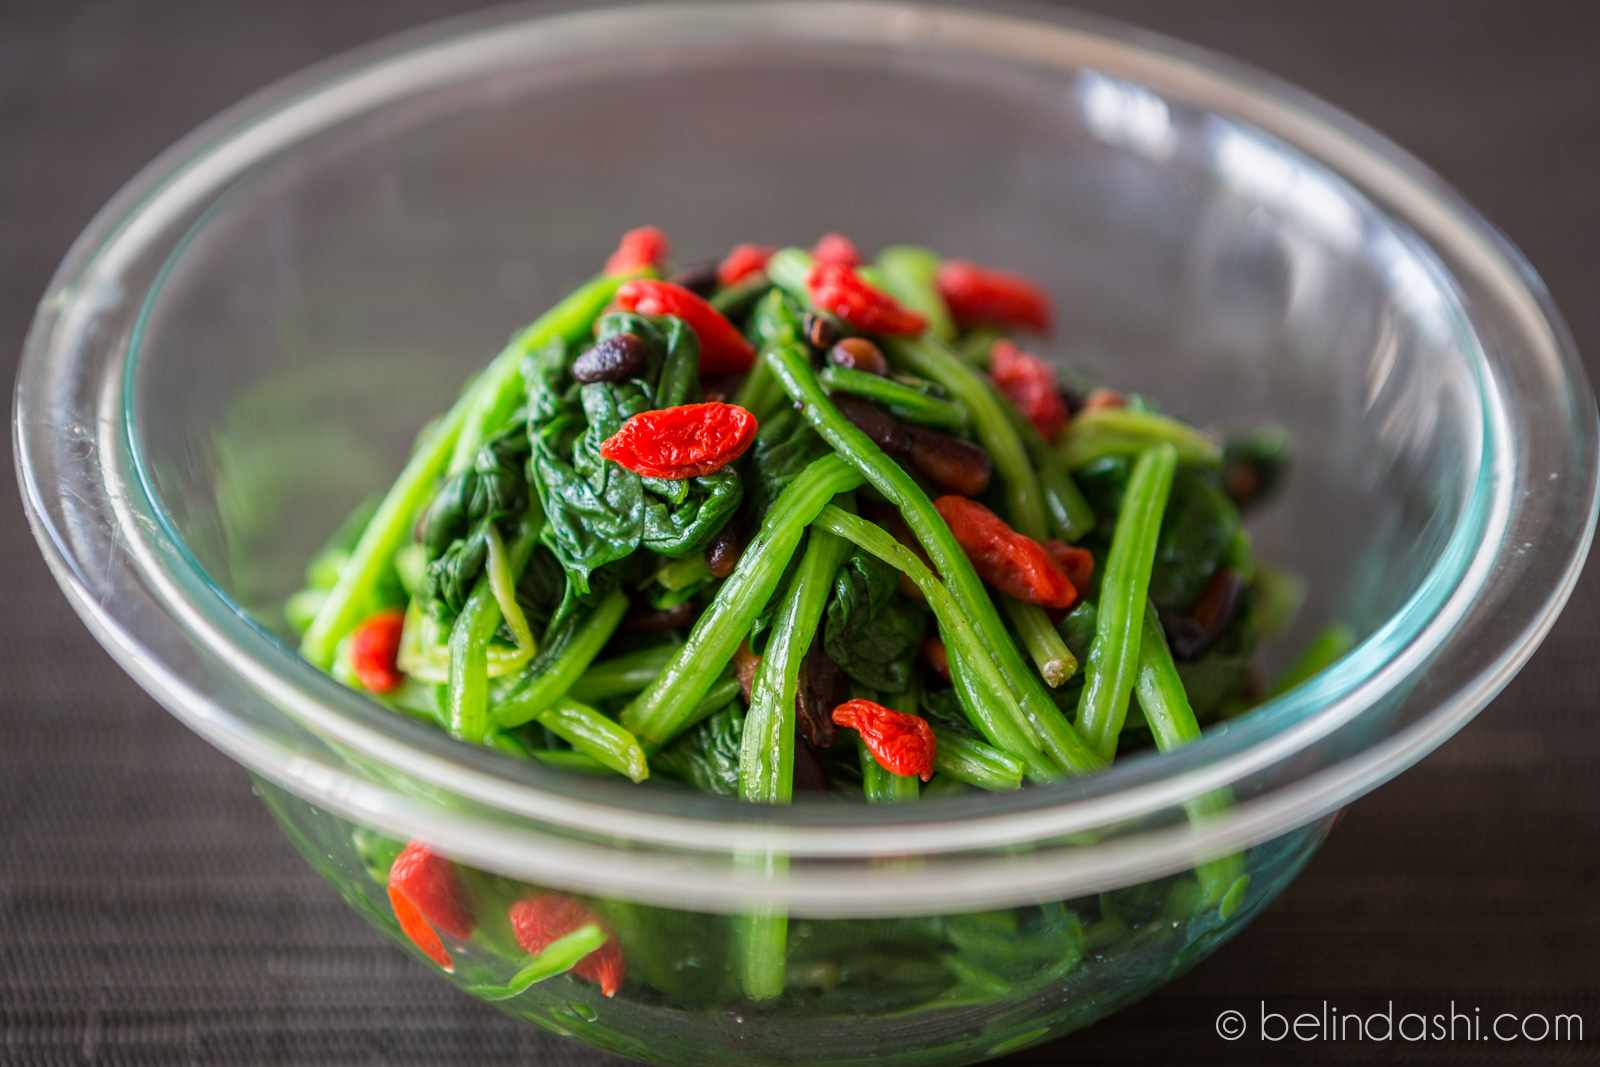
spinach with goji
Shanghai style sticky rice with mushroom shumai.
ISO1000, 70mm, f/3.5mm, 1/320sec. Camera handheld, facing direct to the window light.

Shanghai mushroom shumai
Composition wise, you can totally try to place your camera directly above the food to get a “complete” view and round plate. This is much easier in handheld position, and much harder if you need to use a tripod. Sideways is definitely much easier. Again, depending on if you want to include the background, and how much background you’d like to include, adjust your camera left and right, or up and down, in order to get the ideal composition.
Sichuan spicy green beans with dried pepper. ISO1600, 60mm, f/7.1, 1/25sec, tripod used

spicy green beans
Overall, it's pretty straightforward to photograph food. Post processing to me takes just a matter of seconds, or even just one or two clicks. I use the same Magic Light workflow presets that I use for landscape photography. You might consider additionally adjusting white balance and color tones if you have colored wall reflection or light. However this is not a must if you like the warm tungsten light tone or whatever color your wall reflects onto the food.
you may Also Love…