
3 Day Family Trip At Mt Rainier

Frozen Lake Trail hike, 2.9 mile
We took our first trip to Mt Rainier 5 months ago this year. It was a spontaneous trip after part of our Caribbean trip was canceled.
Only the Paradise area, the southwest part of Mt Rainer National Park, was open back then. Although it was in the end of April, we mostly witnessed the winter scene.
We knew we wanted to see more of Mt Rainier, especially the Sunrise area, the northeast part of the park. We also wanted to avoid the summer crowd in July and August. Ideally, I’d like to capture some fall colors.
So, here we were. We initiated our 4th long weekend trip in September, and explored a new territory in Mt Rainier.

Silver Forest Trail hike, 1.9 mile
Different from our 1st trip when we stayed in Ashford, we based ourselves in Greenwater this time. It is 45 minutes drive to the Sunrise Point, which we ended up seeing every day on this trip.

Selfie at Emmons Lookout
Day 1 - Silver Forest Trail, Reflection Lake, Paradise, Emmons Lookout
We checked in our Airbnb on Friday evening, and entered the park early on Saturday. It turned out to be the best decision.


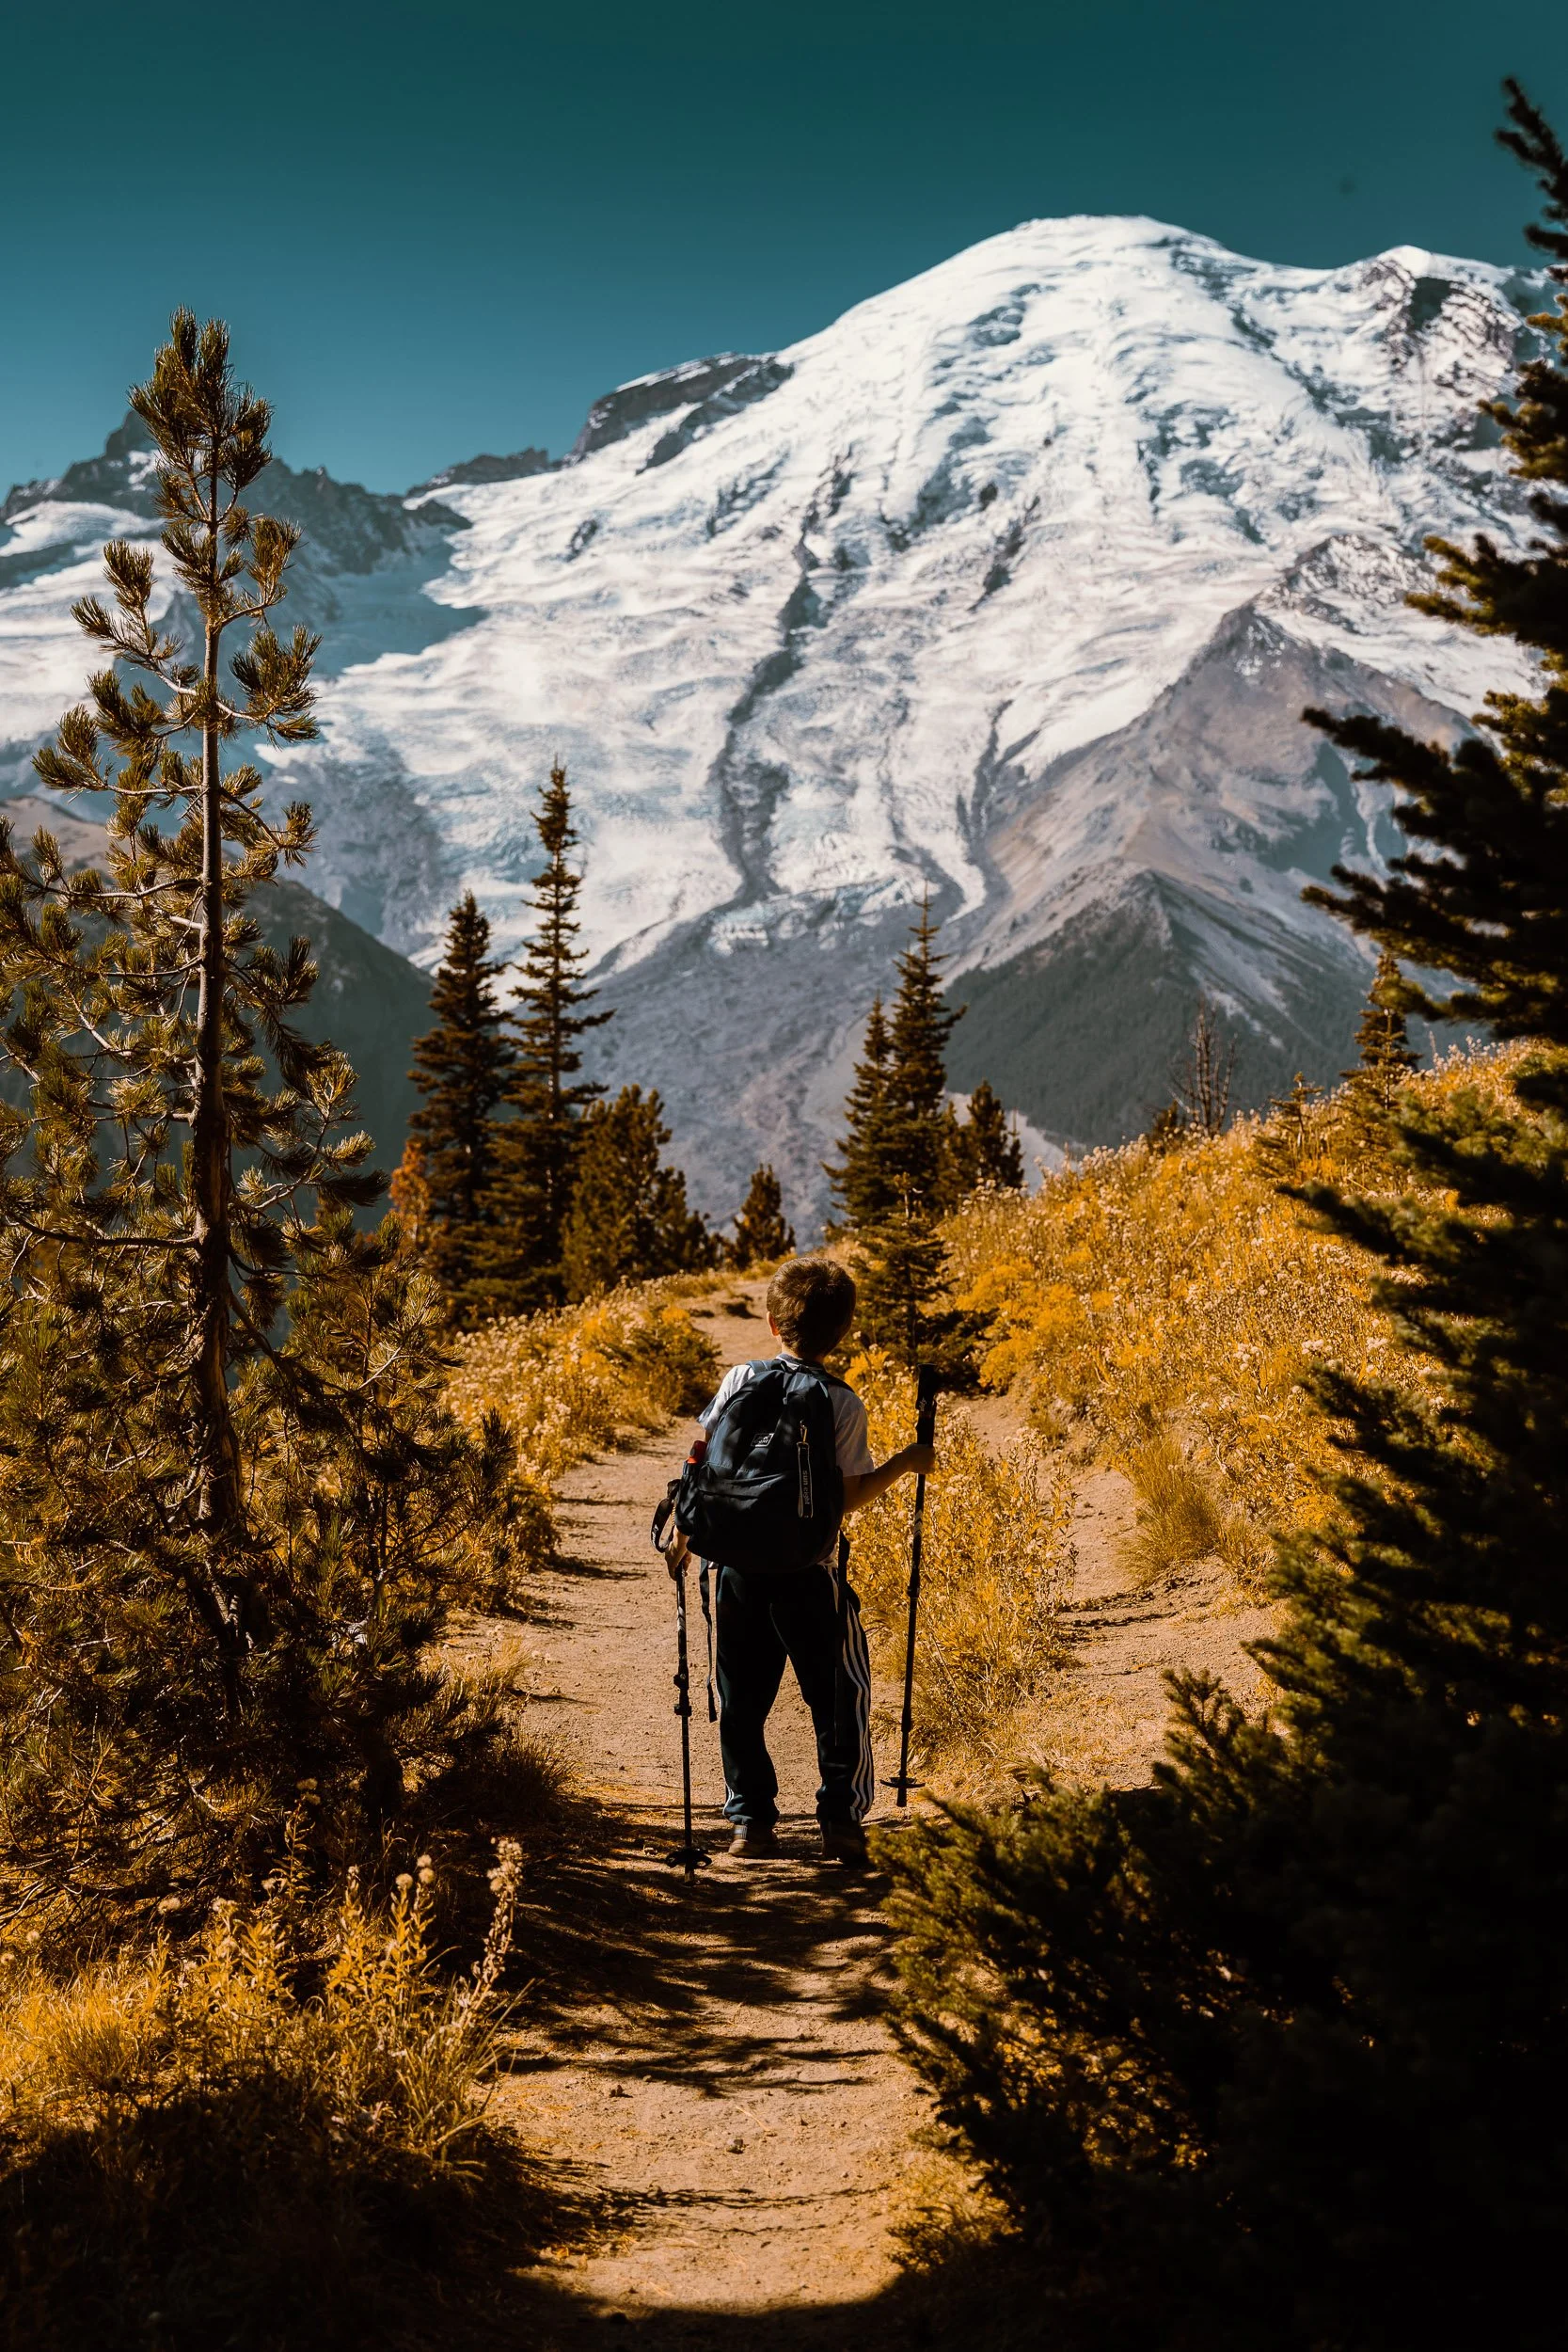
We picked Silver Forest Trail as our first hike. The trail totaled 1.9 mile out and back, and was super easy for our kids.
Most importantly, it offers great view of Mt. Rainier and wild flowers.

View from Silver Forest Trail
We had a quick lunch picnic, and decided to move onto Tipsoo Lake.
Similar to other trips, we typically spend our day 1 to do recons for any potential opportunities to photograph landscape during sunset.
We were shocked to see the huge traffic on our way out. It was 76°F (24°C), and the park was free for the day (we didn’t know that before the trip).
As it turned out, we had to abandon our second hike as the Tipsoo Lake parking lot was full. Even the roadside beyond the parking lot was flooded with cars. This was the biggest traffic we had ever seen in any national park trips.
So plan B. We drove to our 3rd stop - Reflection Lake. We found a parking spot quite far away from the lake, and nobody wanted to come out of the car except me.
The Reflection Lake is an iconic location for many landscape photographers. I could totally see why. The lake was relatively calm - if I used my 10 stop filter for a long exposure, I possibly could have gotten away with a shot with perfect reflection. (Check out my blog written 8 years ago about when and how to use filters)
Alas, I didn’t have the luxury due to the crowd. I decided to take some selfies instead. There were quite a number of people walking around the lake, and I just picked whatever spot that was available, as long as I could have Mt Rainier in the background. (Check out my long exposure of Reflection Lake during sunset in a later photo trip.)
The light wasn’t ideal - I was in the shade while the mountain was in the sun. (Check out the Light chapter of my free online ebook - 30 Day Photo Tips). Nevertheless, I got a few quick shots so I could bring a few pieces of memory home.


Quick Photo tips
Compare the above selfies shot with my 24-70mm lens at its widest angle - 24mm. The closer the subject is positioned to the lower part of the composition, the longer the legs appear (see 2nd image above), due to the lens distortion for wide angle lenses.
This is especially useful if your camera is in an angled down position (like this one or when my husband holds my camera). The subject is more likely to look like a dwarf (see 3rd image above) if it’s in the upper or center part of the image, when the head looks unproportionally big.

Silver Forest hike facing Mt Rainier
We drove further to Paradise, where we visited 5 months ago. It was hard to find parking, and we settled with a roadside spot after lining up at snail speed.
We could hardly see any trails five months ago, as everything was covered by snow. This time, I saw the trails, the wild flowers, the beautiful fall colors, and, of course, the crowd.
I took some quick shots and went back to the car. See following comparison shots between our two trips in different seasons. Which one do you like better?


Despite the colors in this trip, somehow I still enjoyed the tranquil scene we had in April. The photos could not tell what you experienced and how you felt.
After a long day of recon, I didn’t have a conclusion where I wanted to photograph sunset. So we went back to Sunrise as parking was easier (due to a huge parking area) and the view was more open.


I climbed down a bushy and gravel slope near Emmons Lookout for an unblocked view of Mt Rainier. The view was breathtaking, however, there was little color in the sky. Plus, Mt Rainier was in the shade.
As the word described it, Sunrise must be good for viewing Mt Rainier during sunrise. The sun was behind Mt Rainier during sunset so the mountain was in the shade and had no golden glow as you’d observe during sunrise. (Check out my blog written 8 years ago about where to stand for best mountain colors).
Was this disappointing? Not really. I already knew this as I mapped out the sun’s position relative to Mt Rainier during our recon. But I still wanted to come back here as it offered the best view so far.


The above were two photos I took at the same spot, just at opposite directions. The one on the left was my selfie in front of Mt Rainier.
The one on the right was the view behind me. Although there was some color in the sky, Mt Rainier wasn’t there, and I couldn’t find a location to set up the tripod, as the bush was very dense.
Nevertheless, I really enjoyed the view and my photo time, while my husband took care of our two boys and fed them picnic food during the 30-minute wait.
In fact the viewpoint was so good for milky way shot. See below augmented reality from PhotoPills app. But I know our reality was to go back to our Airbnb after sunset.

Augmented reality generated by PhotoPills app for milky way shot at Emmons Lookout
Day 2 - Tipsoo Lake, Sourdough Ridge Trail, Frozen Lake
We entered the park on Sunday to explore more views and hikes. Everything seemed to go back to normal. No more crowds. We could easily find parking.
We went back to Tipsoo Lake in the morning. According to my landscape photography research before the trip, it was considered one of the easiest locations to photograph Mt Rainier.
This was partly true. The hike was super easy, but the lake was merely at a size of a pond (similar to the Picture Lake in Mt Baker). You could easily walk around it within 10 minutes.


Ironically, we couldn’t see Mt Rainier from any angles, until the clouds moved away from it (see below).

We then moved onto Sourdough Ridge Trail. We knew we wouldn’t be able to hike the whole distance, and settled on a small portion of the trail to Frozen Lake, which totaled 2.9 miles out and back.
Unfortunately, our 4 yo fell asleep on our drive up to the trailhead. So only our 6 yo and I went for the hike.

Selfie at Frozen Lake Trail, ISO100, 24mm, f/8, 1/250sec
There were plenty of stunning views, from 360 degree angles. As we walked on the “ridge”, we could enjoy mountain views on both sides of the trail.
Apollo carried our picnic blanket, all our food and water. After a few years of “training” in our global trips, he clearly became a pro hiker. I knew one day he’d help me carry my camera gear and/or tripod. Perhaps the day would come sooner. Alright, I was day dreaming. (Post note: in fact he did just that in our Norway trip in 2022.)


Didn’t I mention fall colors? We saw a whole lot!

We reached Frozen Lake, but was a bit bummed out when we saw a tiny lake in a fence. The lake itself wasn’t that pretty either. (see below image)

Selfie at Frozen Lake
You could continue onward to the most renowned Fremont Lookout for another 1.6 miles. We didn’t do that as it would take too long and the weather was changing.

View from Frozen Lake Trail
As a matter of fact, before we arrived back at our trailhead, we were hit by a small sand storm. Of course it was nowhere near the sand we experienced in the Atacama desert in Chile, and we only had a short distance to run down to our car.
No pictures. And everyone was safe!

Day 3 - Paradise, Inspiration Point, Nisqually River
Day 3 was a rainy day. The weather app showed 100% chances of rain, and it was true!
Fortunately, we had an Airbnb with a cute backyard. We woke up with over a dozen of elks eating grass right outside of our window. The kids couldn’t be happier.
Although we knew we had few photo or hiking opportunities for the day, we drove back to Sunrise again, after checking out our Airbnb.
The temperature dropped from 76°F on Saturday to 36°F on Monday. Contrary to the crowded scene we saw 2 days earlier, there were less than 5 cars at Sunrise Point parking lot, and less than 20 at Sunrise parking area, which was the starting point of most of our hikes.
We sat in the parking area for a while, and took a last glance at the gorgeous mountain scene, and said goodbye to Mt Rainier.
In fact, we drove west through the park, back to the Paradise area we visited 5 months ago, even pointed to our 4 yo where he broke his head at the Nisqually river bank on our last trip.
We made a few stops here and there. The rain never stopped, but the view was still gorgeous.

Selfie at Inspiration Point
Quick Photo tips
I took more selfies than usual on this trip. Ever since I had Canon EOS R5, I no longer used intervalometer. Now I either used iPhone to pair up with the camera via bluetooth, or just used the built in intervalometer feature, something I wasn’t used to. As I used different approaches to do selfies, my focus sometimes was a hit or miss. So I needed more practice.
As I mentioned in the last chapter, “define your path”, in my ebook 30 Day Photo Tips, there is no better advice I can give you than this one: practice, practice, practice! It’s every photographer’s way to achieve excellence.
So long Mt Rainier, I’m sure we’ll be back, again.
You May Also Love…
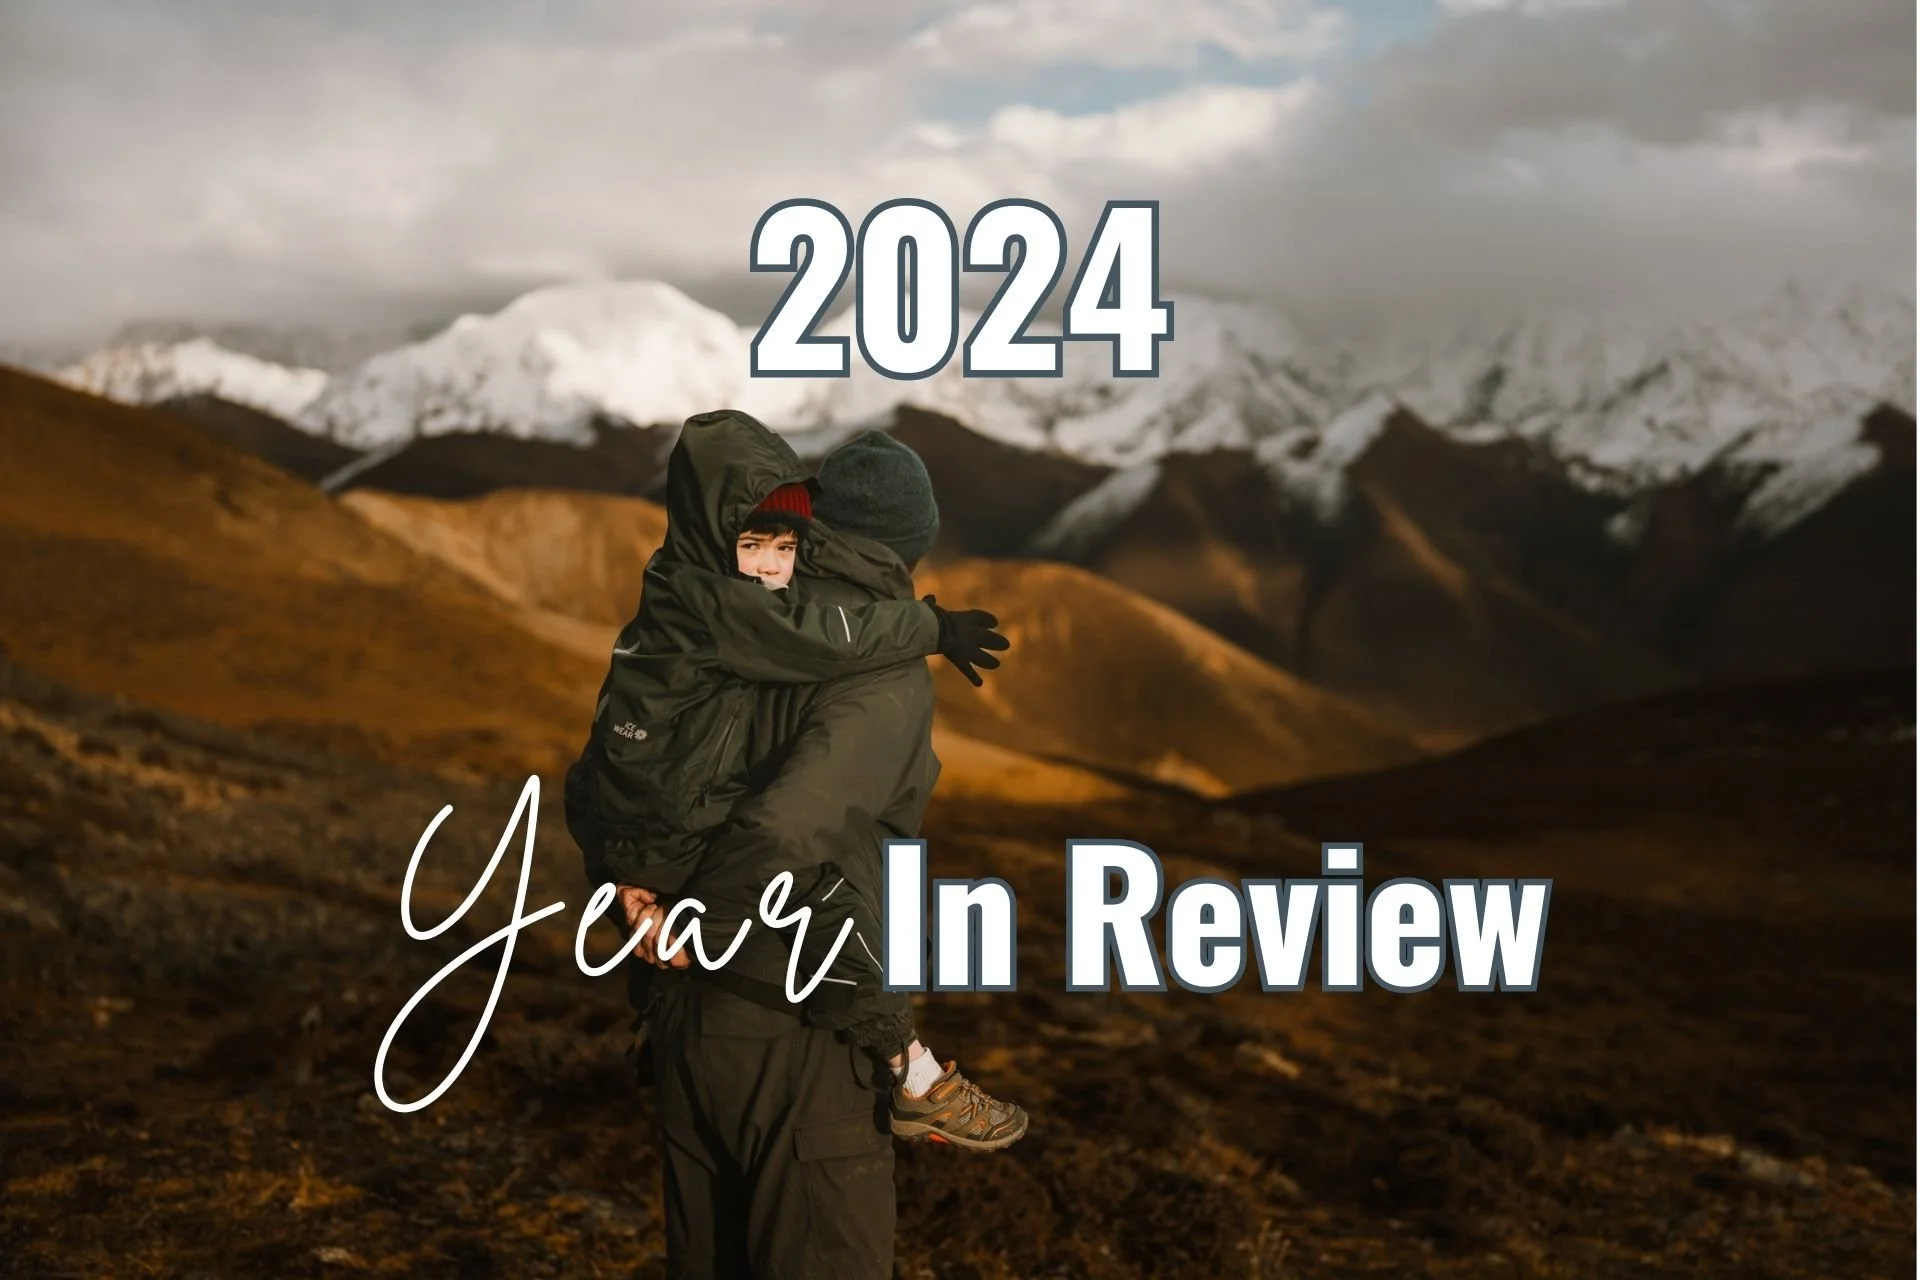


A reflective 2025 year in review shaped by staying rooted in Hawaii, limited travel, and intentional photography. From life on Oahu to revisiting the Pacific Northwest, this post explores how light, mindset, and clarity guided both family decisions and creative work.