
How I edit travel photos
Different from taking landscape photos, when I generally have heavy planning in advance, my travel photos have a much higher rate of “error” to begin with - not having the right light, not having the right angle, subject moving unpredictably, carrying too much stuff and having only one hand to operate a camera etc.
The following video is an example how I edit travel photos.
Now let me give you a few more examples.
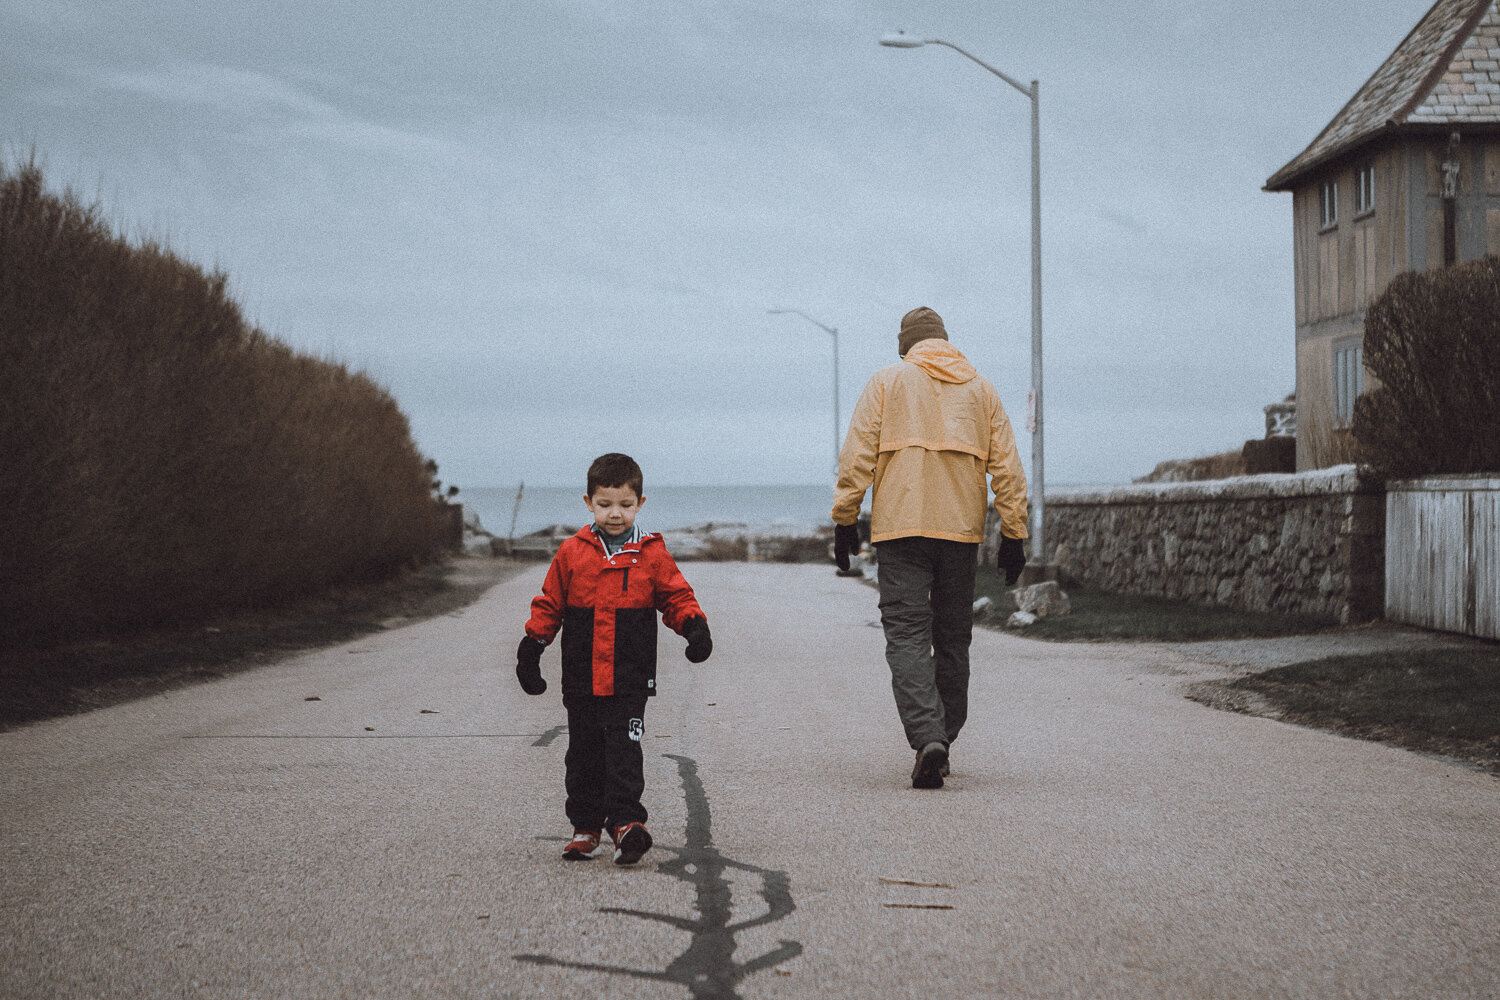
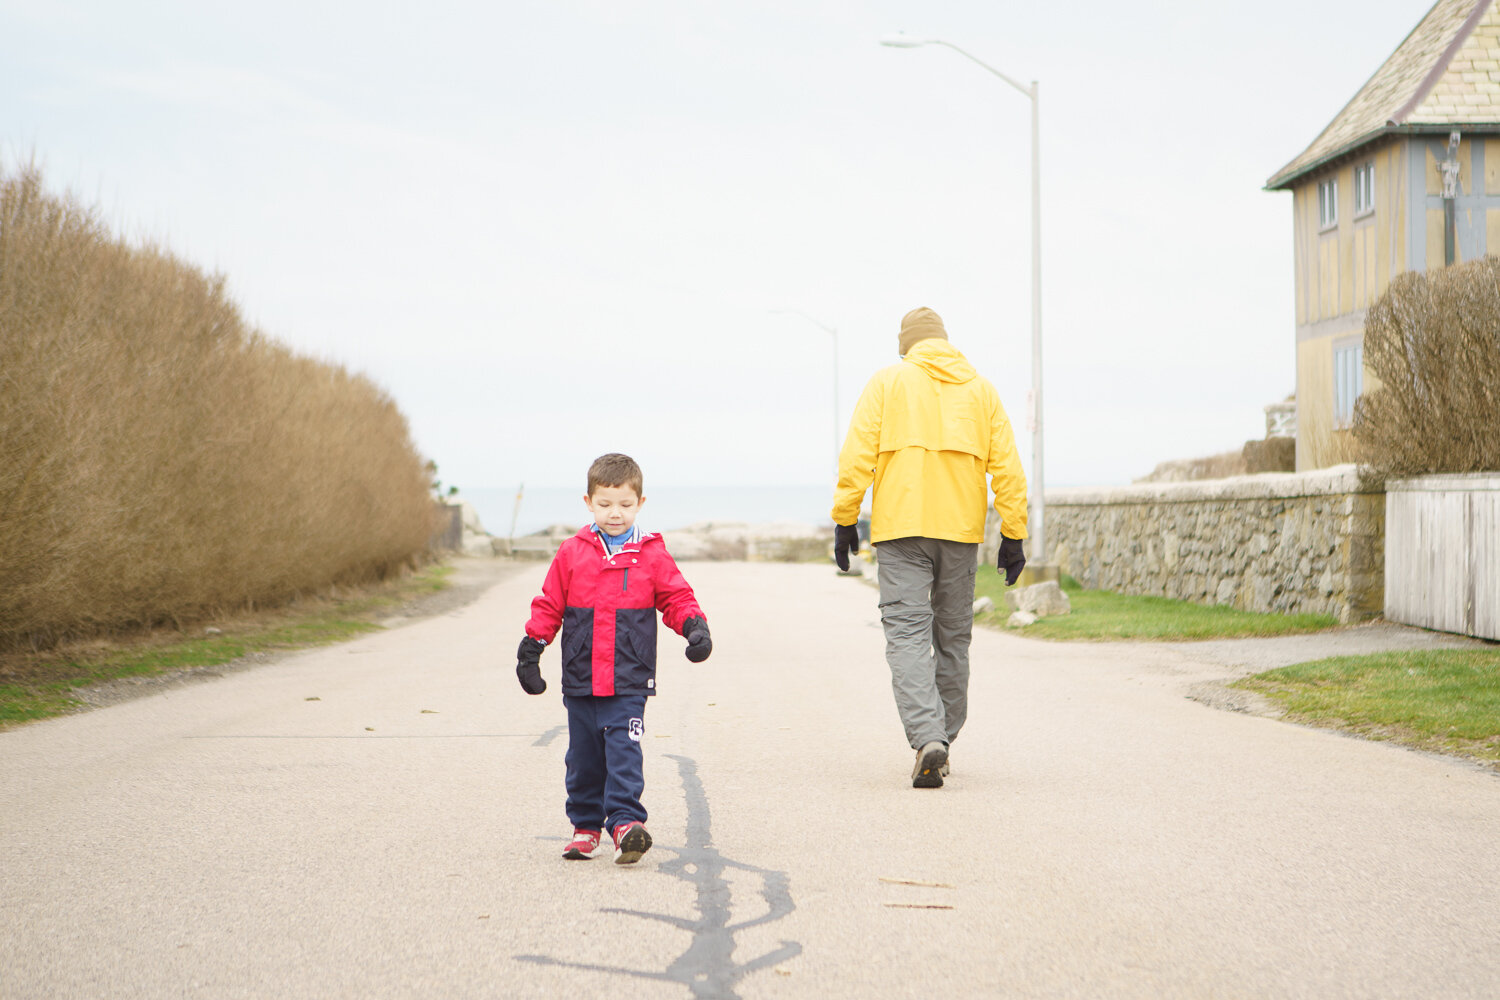
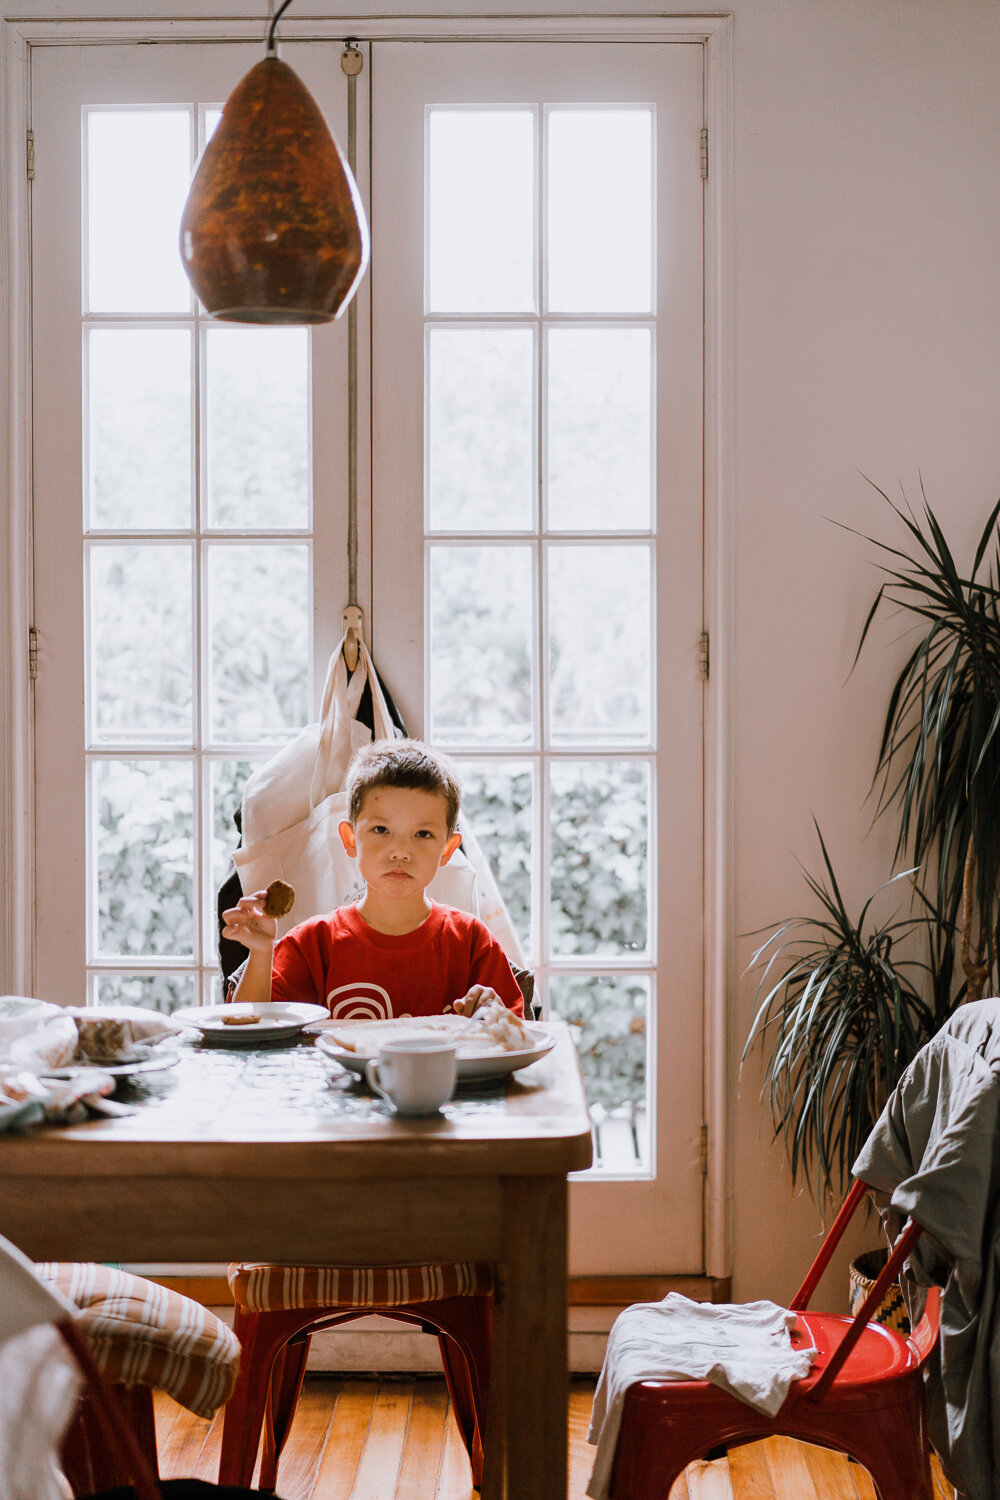
The above example is an image with over-exposure, because the camera metered the light based on the dark clothes on the main subject while the rest of the image is much brighter.
Can I get the exposure right after another try? Of course, but the subjects won’t be in the same position and pose again. Typical dilemma of photographing children.
Here are more tips on how to use the best camera settings to get the right exposure.

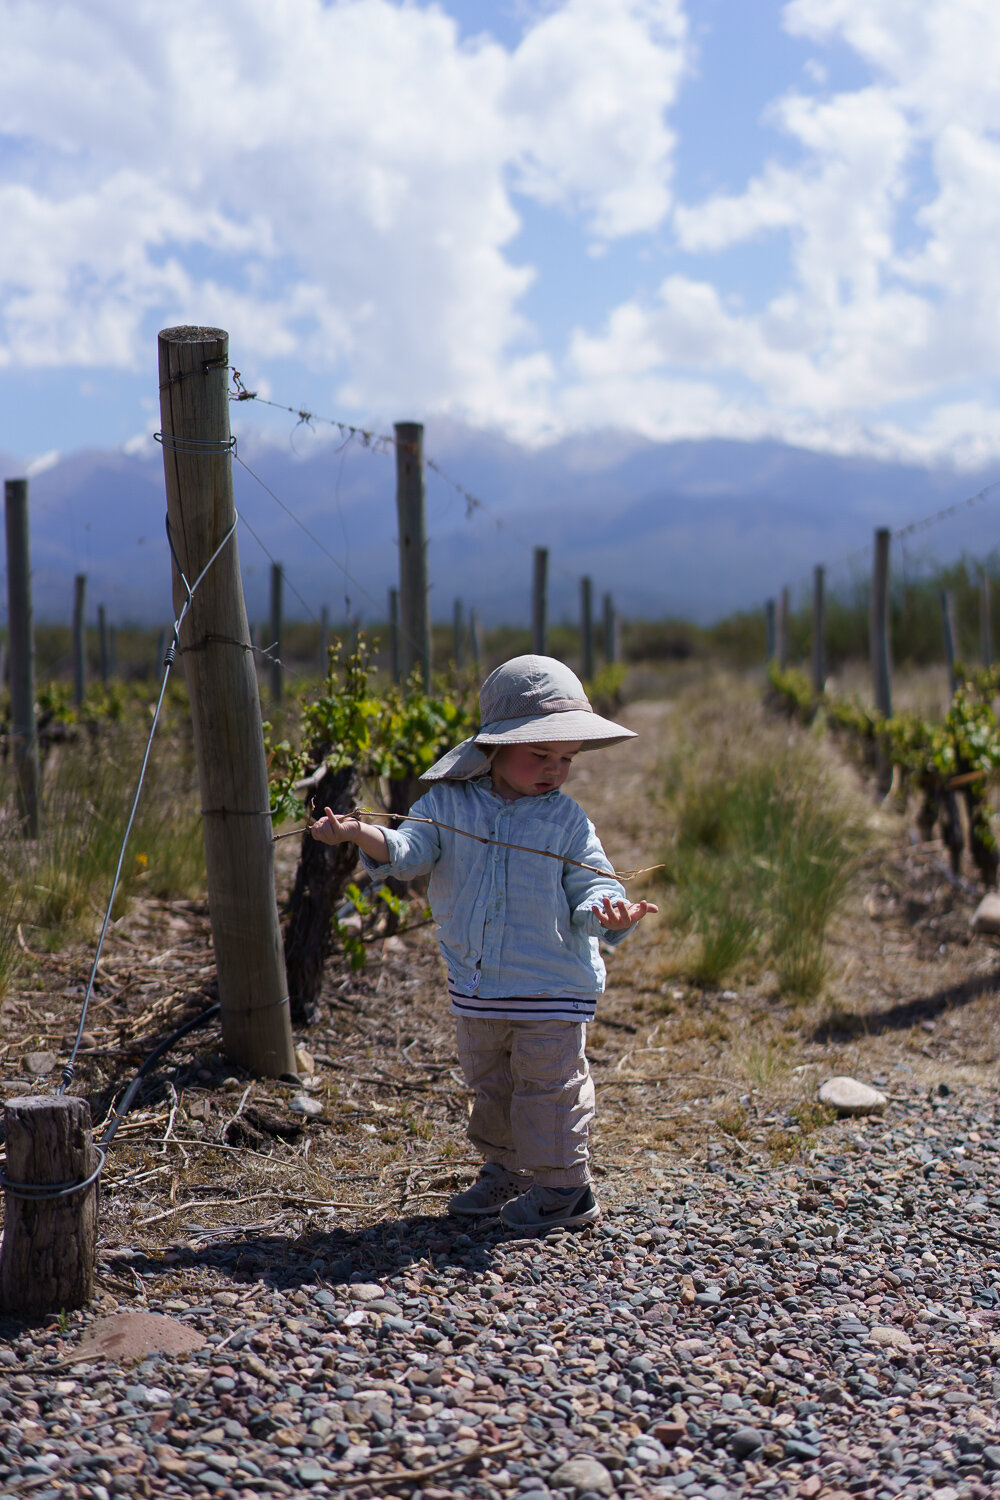
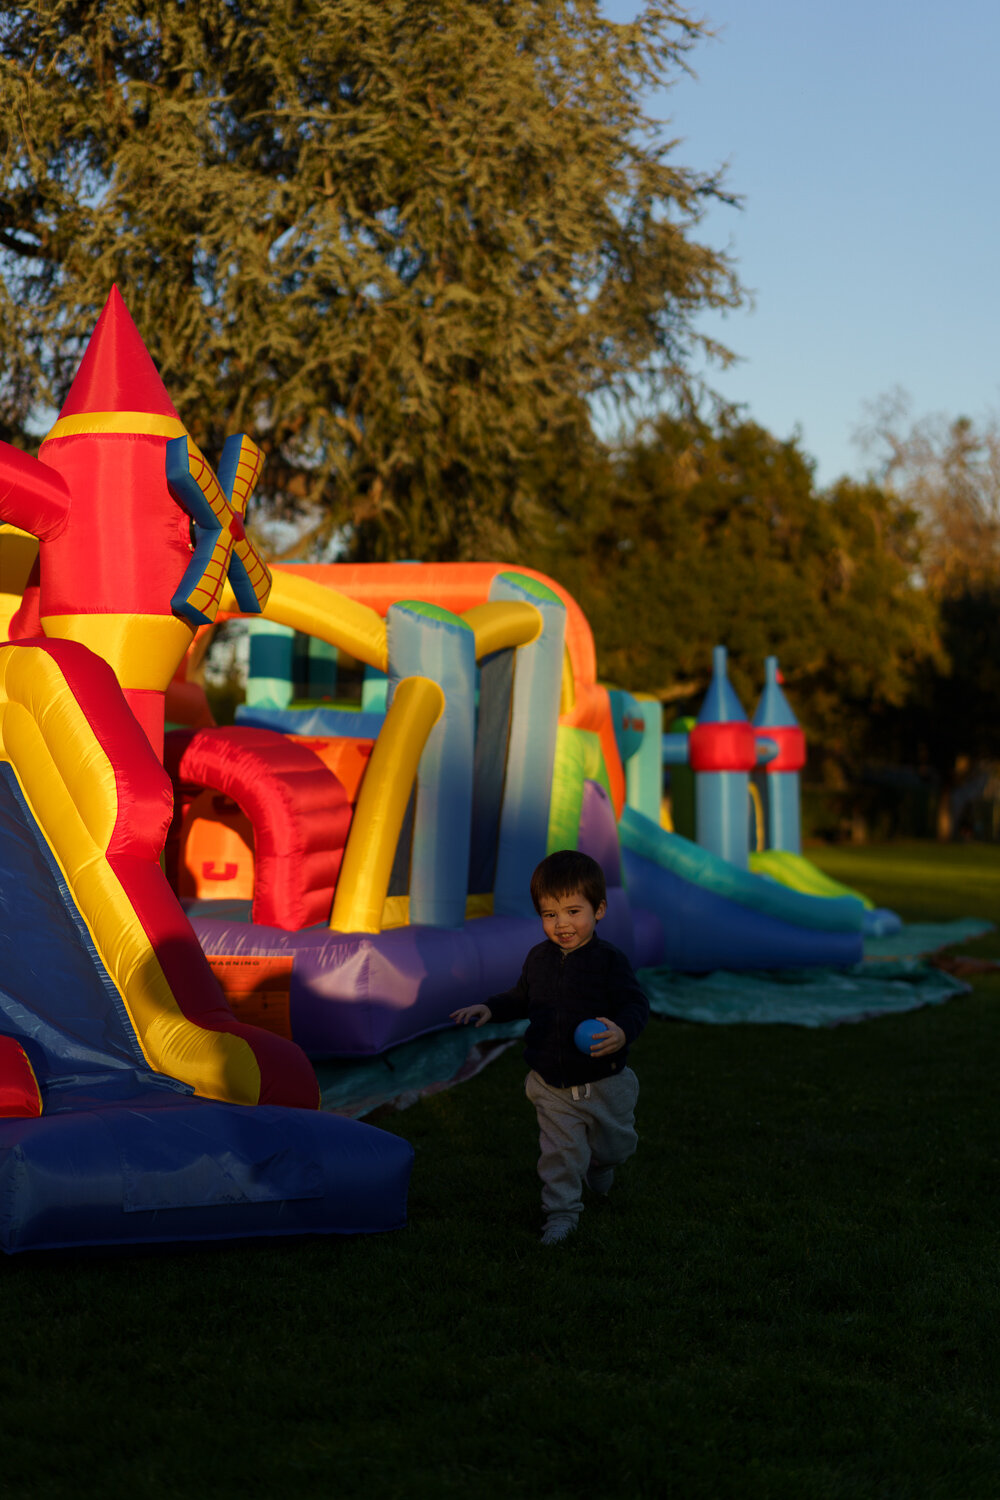
The above is a harsh day light example. I have to admit, this is my biggest pain traveling with little ones. We are mostly out during the wrong hours for outdoor portrait, so we almost never have the soft light. Check out more tips on how to photograph people in strong sunlight or how to deal with different light in my 30 day photo tips ebook to improve your chances of getting great shots.
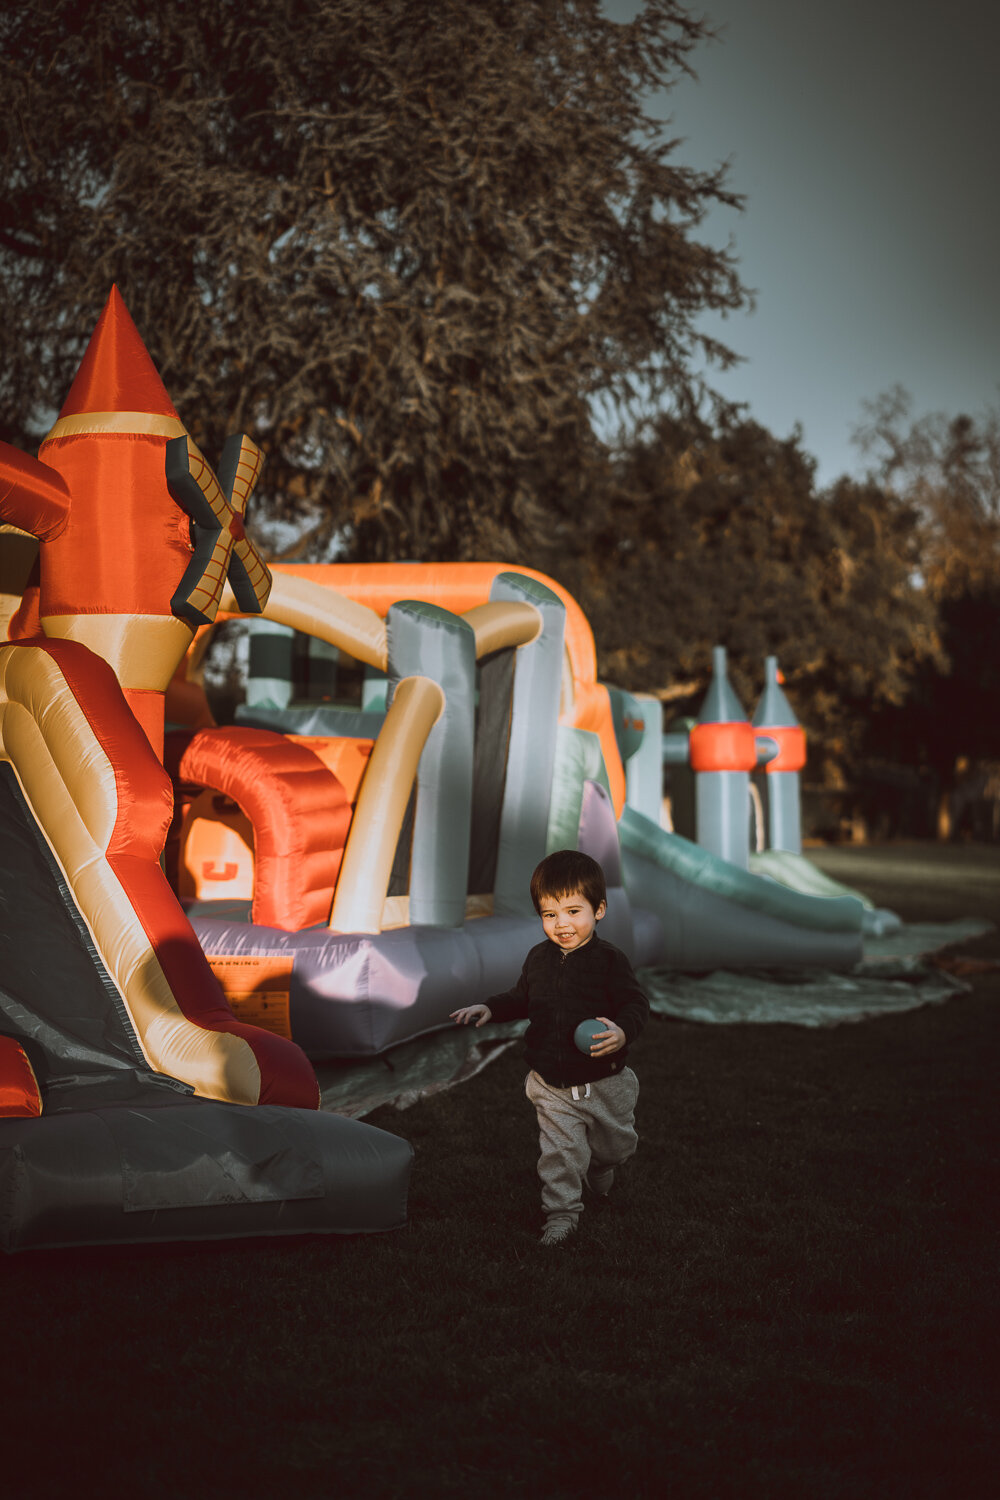
The above is a combination of light in the wrong place, unpredictable toddler move and busy colors. As a long advocate of “less is more”, I prefer my photos to be clean although in real life I love colors. See my post about Less Is More - 7 Approaches To Create Simple Yet Strong Composition.


The above is a great example of the wrong color cast on people due to indoor tungsten light. Check out more tips on how I use white balance for travel photos.
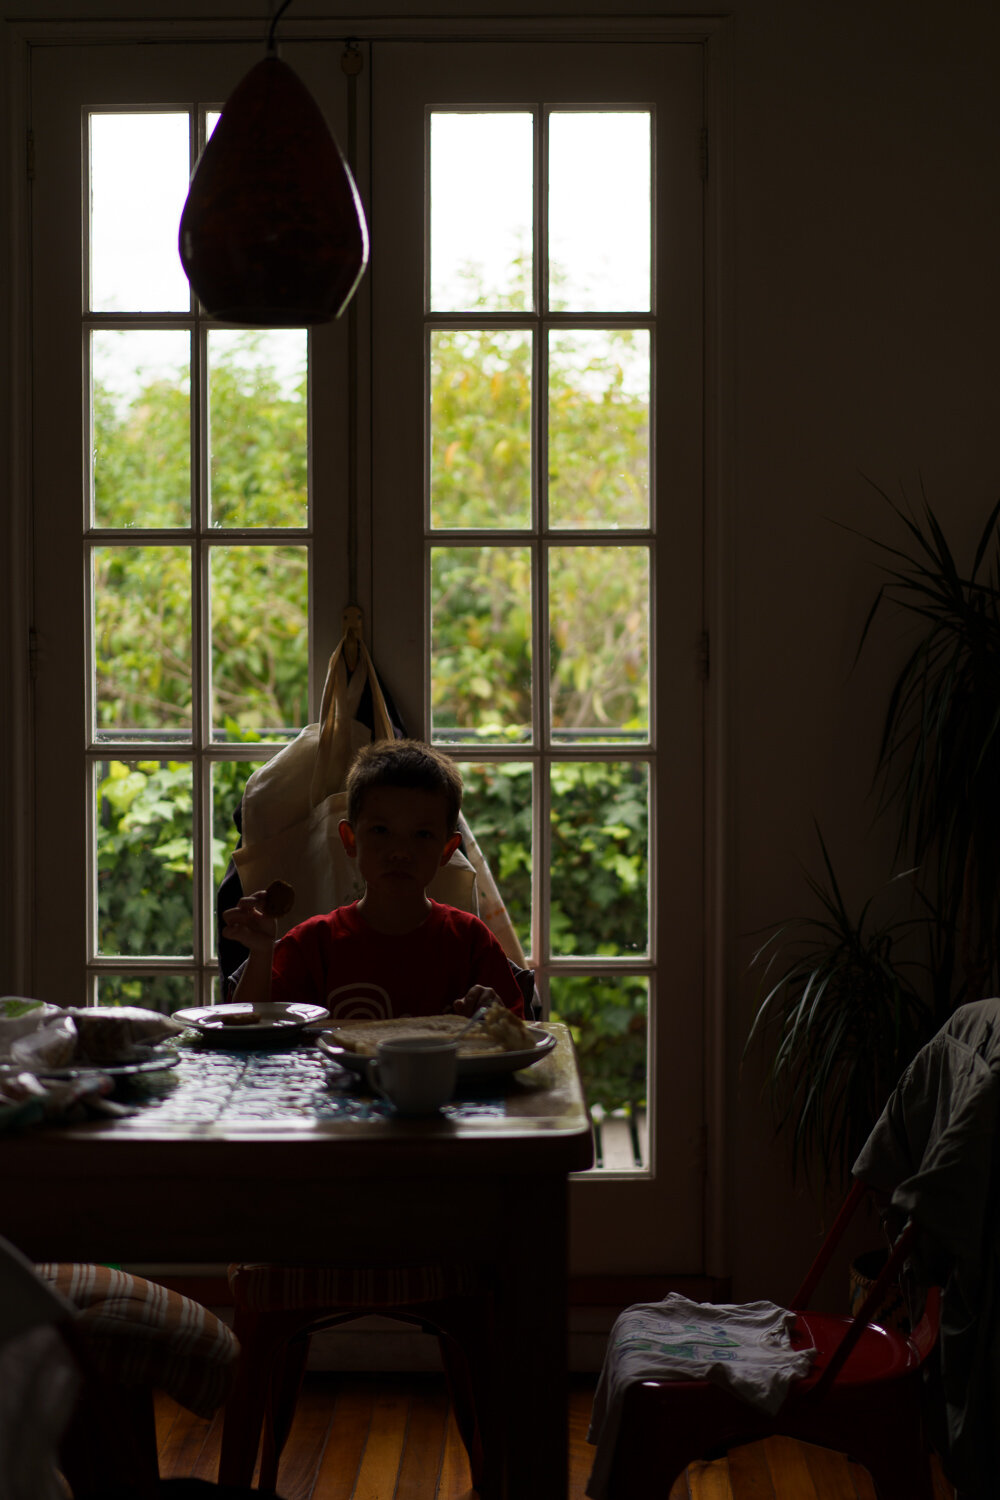
The above is an example of strong contrast due to uneven light. Can I get the right exposure for this photo by metering on the main subject instead of the background? Yes. But it’s always better to under-expose an image than over-expose it, if you have to choose between the two. If you shoot in RAW, it’s much easier to recover details from shadows than highlights in Lightroom. Check out why you might want to use spot metering for travel photos.
All the above photos are edited with my own presets. It usually takes me no more than a few seconds to edit a photo. They are a great time saver, and helped me turn many “bad photos” into keepsakes.
By the way, I retouch most, I mean 99%+, of my photos in Adobe Lightroom CC. I’ve been a long term Lightroom user, since version 3. It’s a powerful tool to organize my photo files, and retouch my photos efficiently. Check out these free video tutorials on Fast Track Adobe Lightroom Workflow, a workflow I’ve defined and refined over the past 10+ years to be efficient while .
Having said the above, I’m not encouraging you to rely on post processing to fix photos.
It’s much better to get the photo right to begin with, and use Adobe Lightroom or other photo editing software to enhance your photos with unique style.
You May Also Love…


Owning a full-frame mirrorless doesn’t always mean you’ll document more life. In this article, I explain why I now carry Insta360 Ace Pro 2’s Xplorer Grip Pro Bundle, a compact camera system, alongside my main mirrorless setup — and how lightweight design, straight-out-of-camera video, and ease of use changed my creative workflow.